The TSA’s app can help you plan ahead for travel


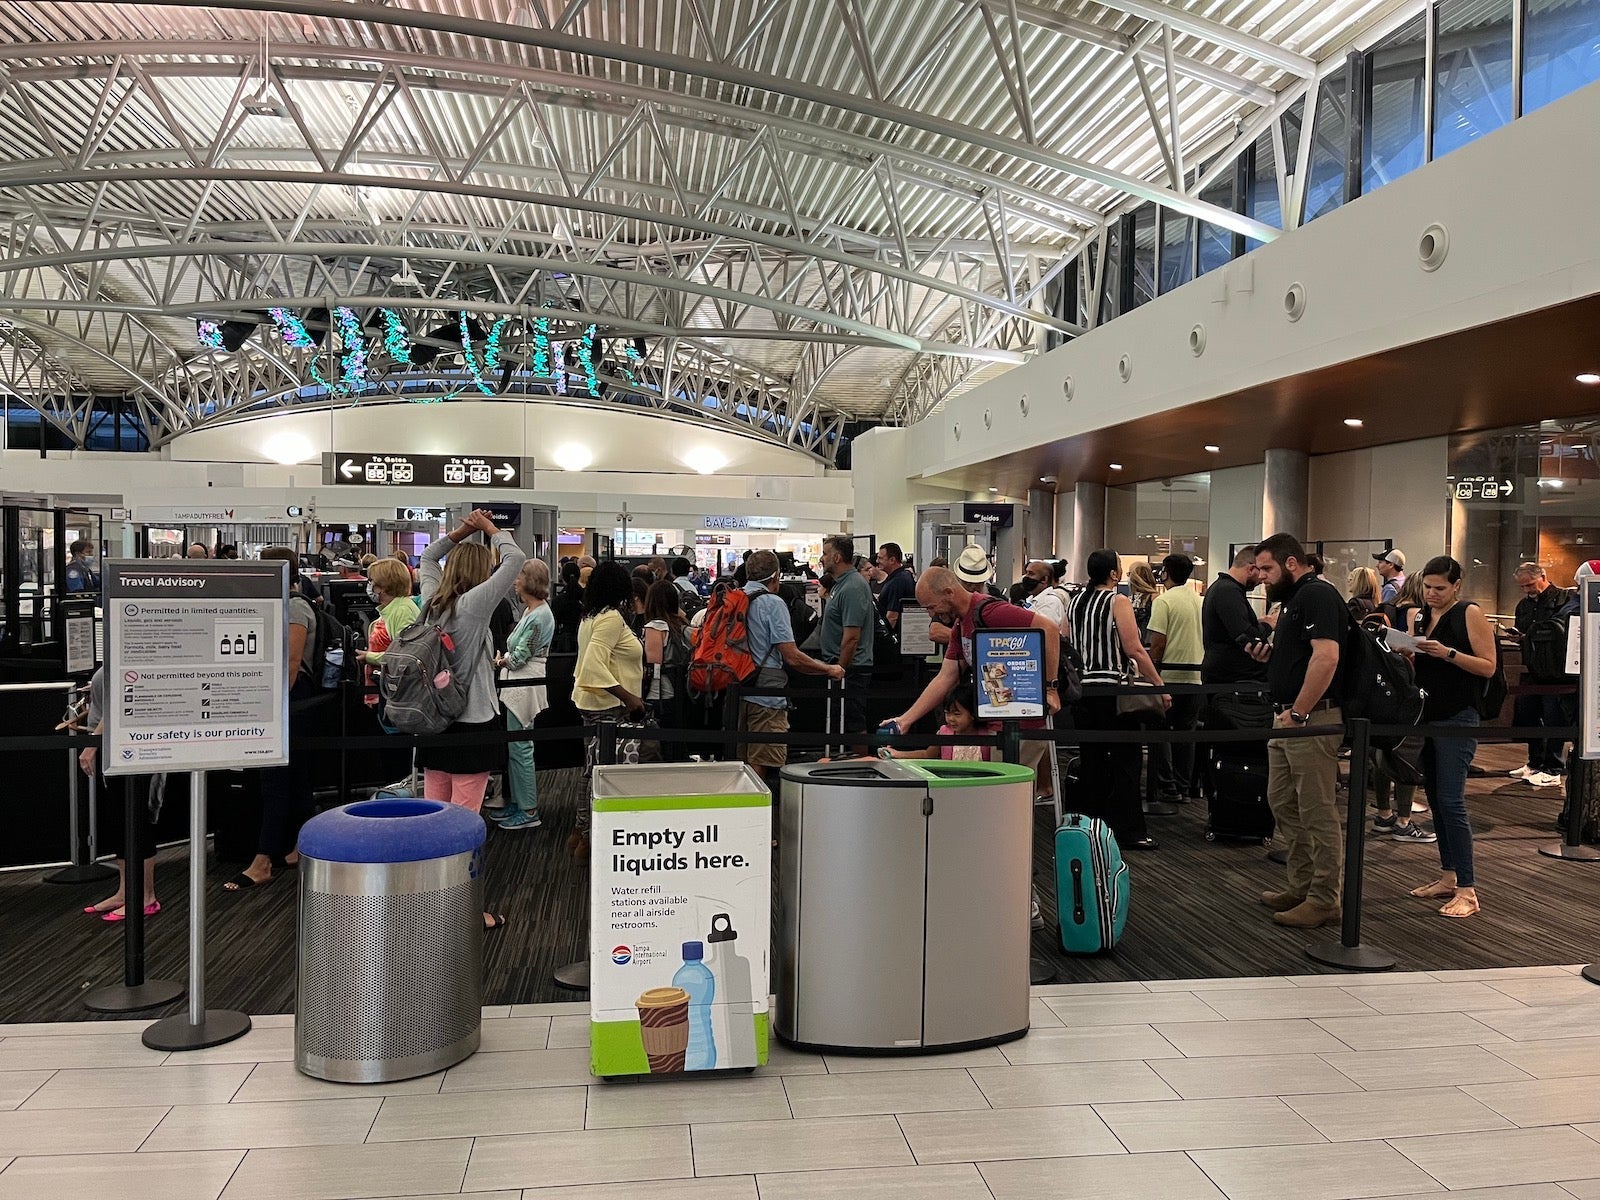
Standing in a long airport security line while precious minutes tick away before your flight is bad. But it’s even worse when the line catches you off-guard.

Sure, this is where line-skipping programs like Clear and TSA PreCheck can be a lifesaver, offering critical time savings at security checkpoints.

But the Transportation Security Administration also offers another way to plan ahead and predict your security wait time, right on your smartphone.

And after being offline for months during the two recent government shutdowns, the app is up and running again.

Read more: Ways to get free or discounted TSA PreCheck, Global Entry and Clear

Summer travelers wait in line at a TSA checkpoint at Tampa International Airport (TPA). SEAN CUDAHY/THE POINTS GUY

The MyTSA app

The MyTSA app is free to download.

It displays current security wait times at checkpoints across the country. Plus, it predicts future wait times in the terminal you’ll be visiting — down to the day and hour.

How to use the TSA app

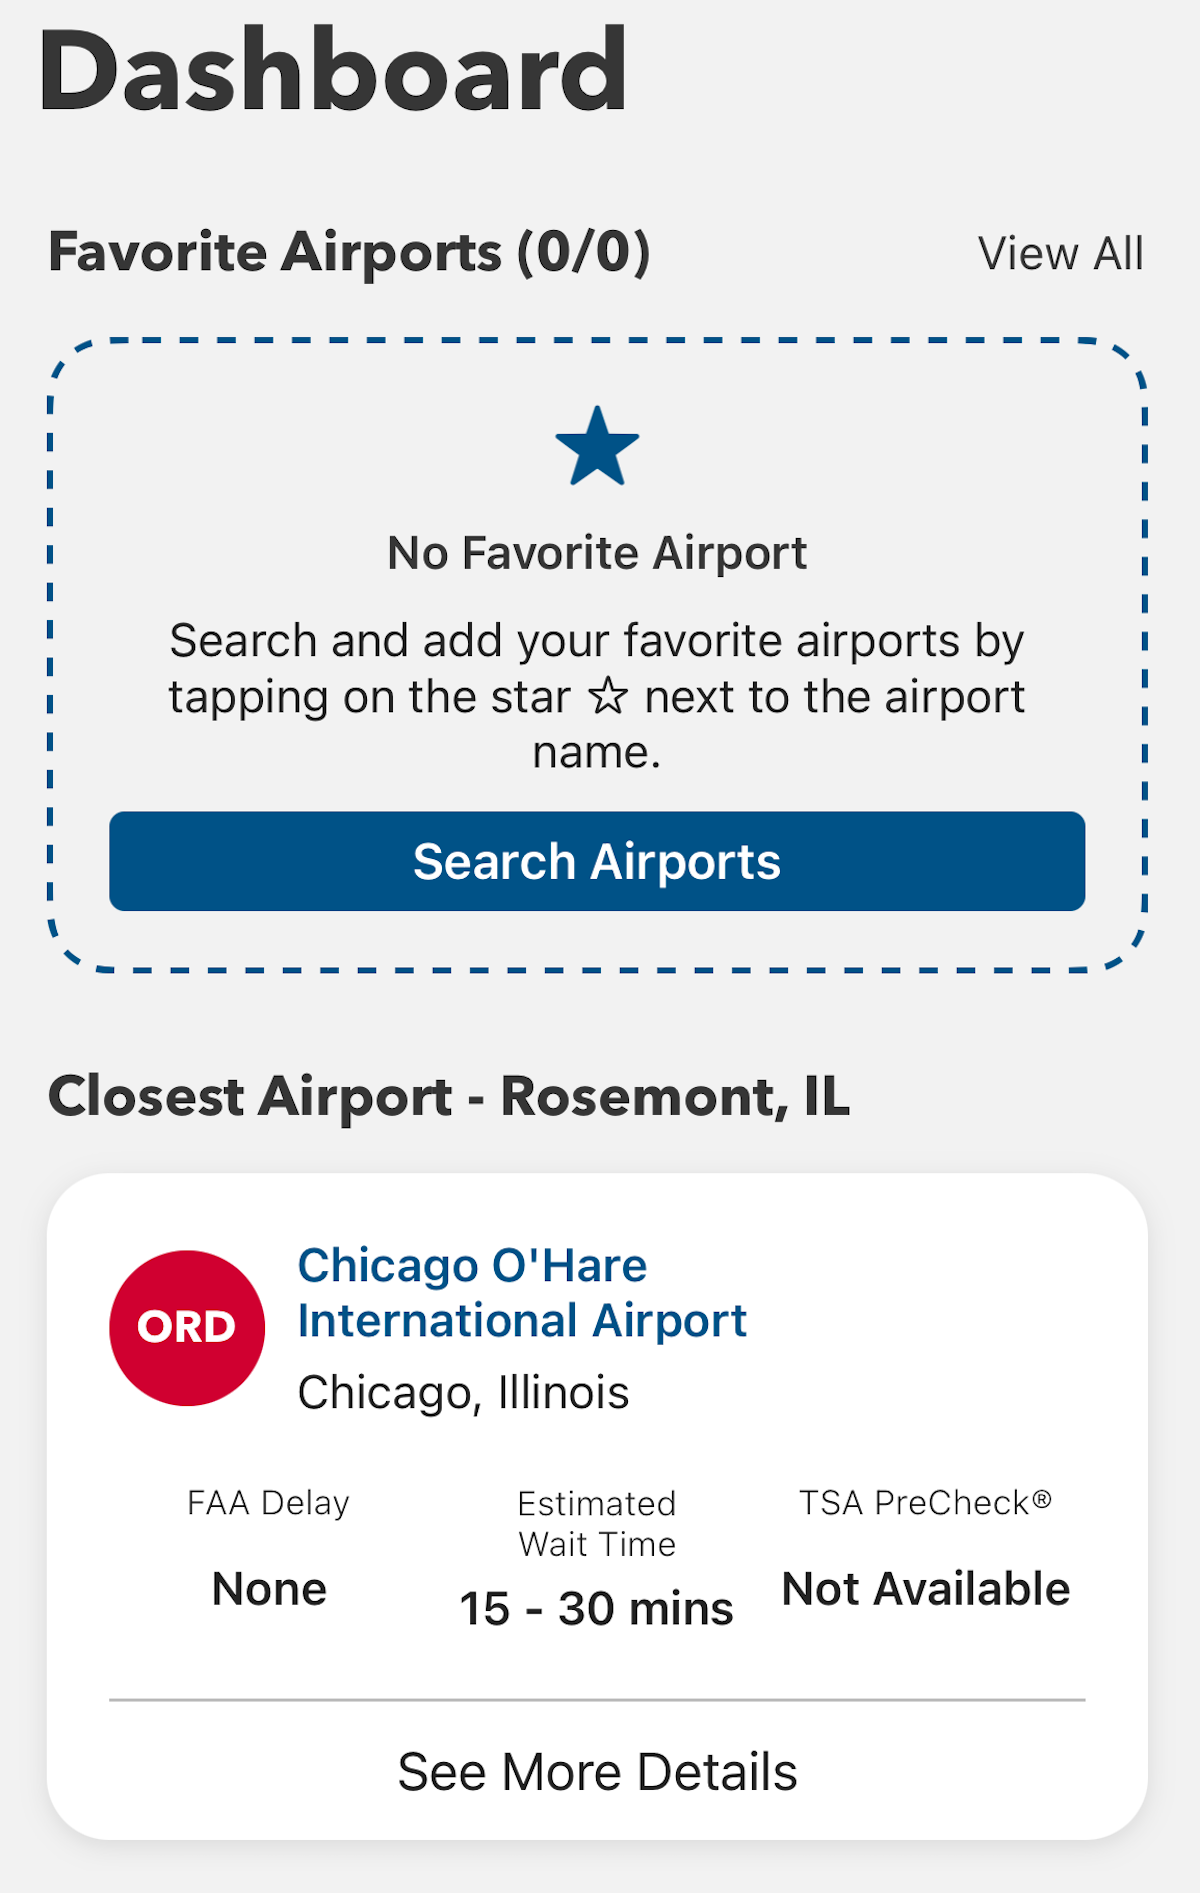
When you log in, you’ll see a screen like the one below. It displays your closest airport and its current wait times. For instance, at the time of writing, I was near Chicago’s O’Hare International Airport (ORD), and I could see that wait times were between 15 and 30 minutes.

MYTSA APP

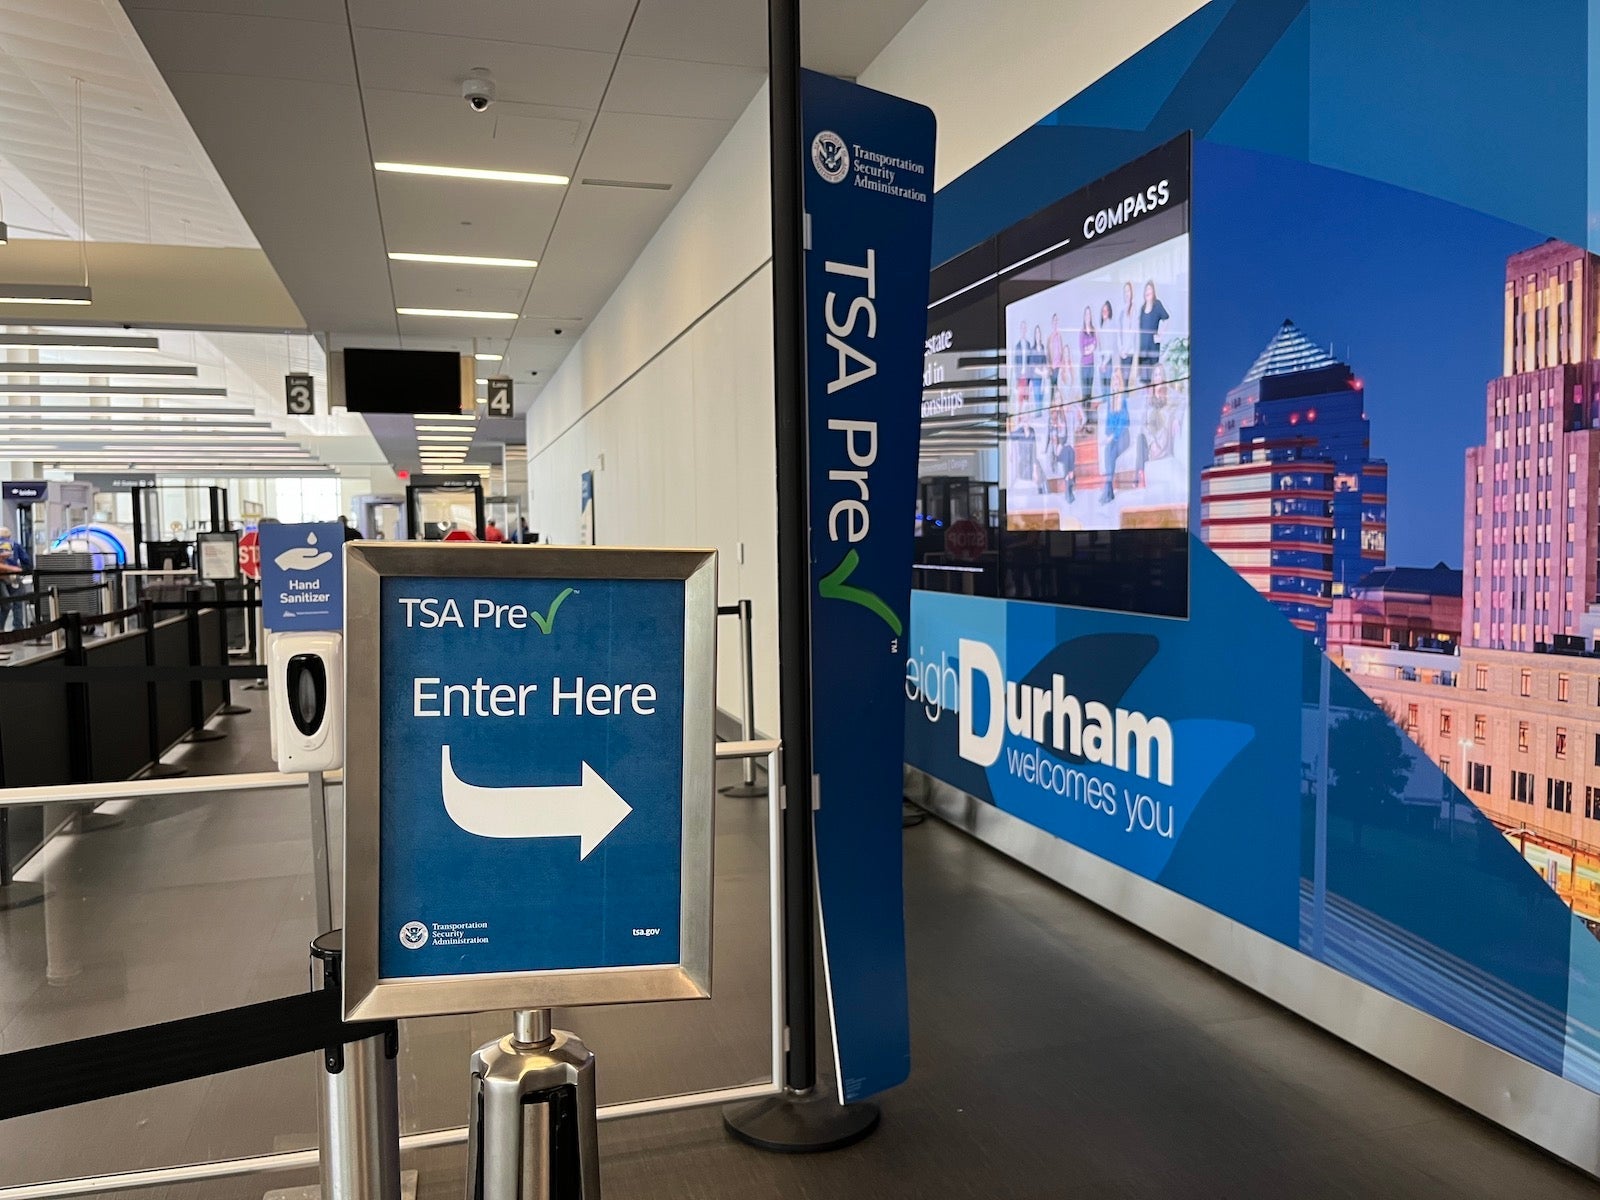
You can also add airports — such as the one closest to your home — to a list as a “favorite.” In my case, that’s Raleigh-Durham International Airport (RDU) in North Carolina. Wait times, as I searched, were less than 15 minutes. You can check live wait times at any airport across the country.

Reward your inbox with the TPG Daily newsletter

Join over 700,000 readers for breaking news, in-depth guides and exclusive deals from TPG’s experts

MYTSA APP

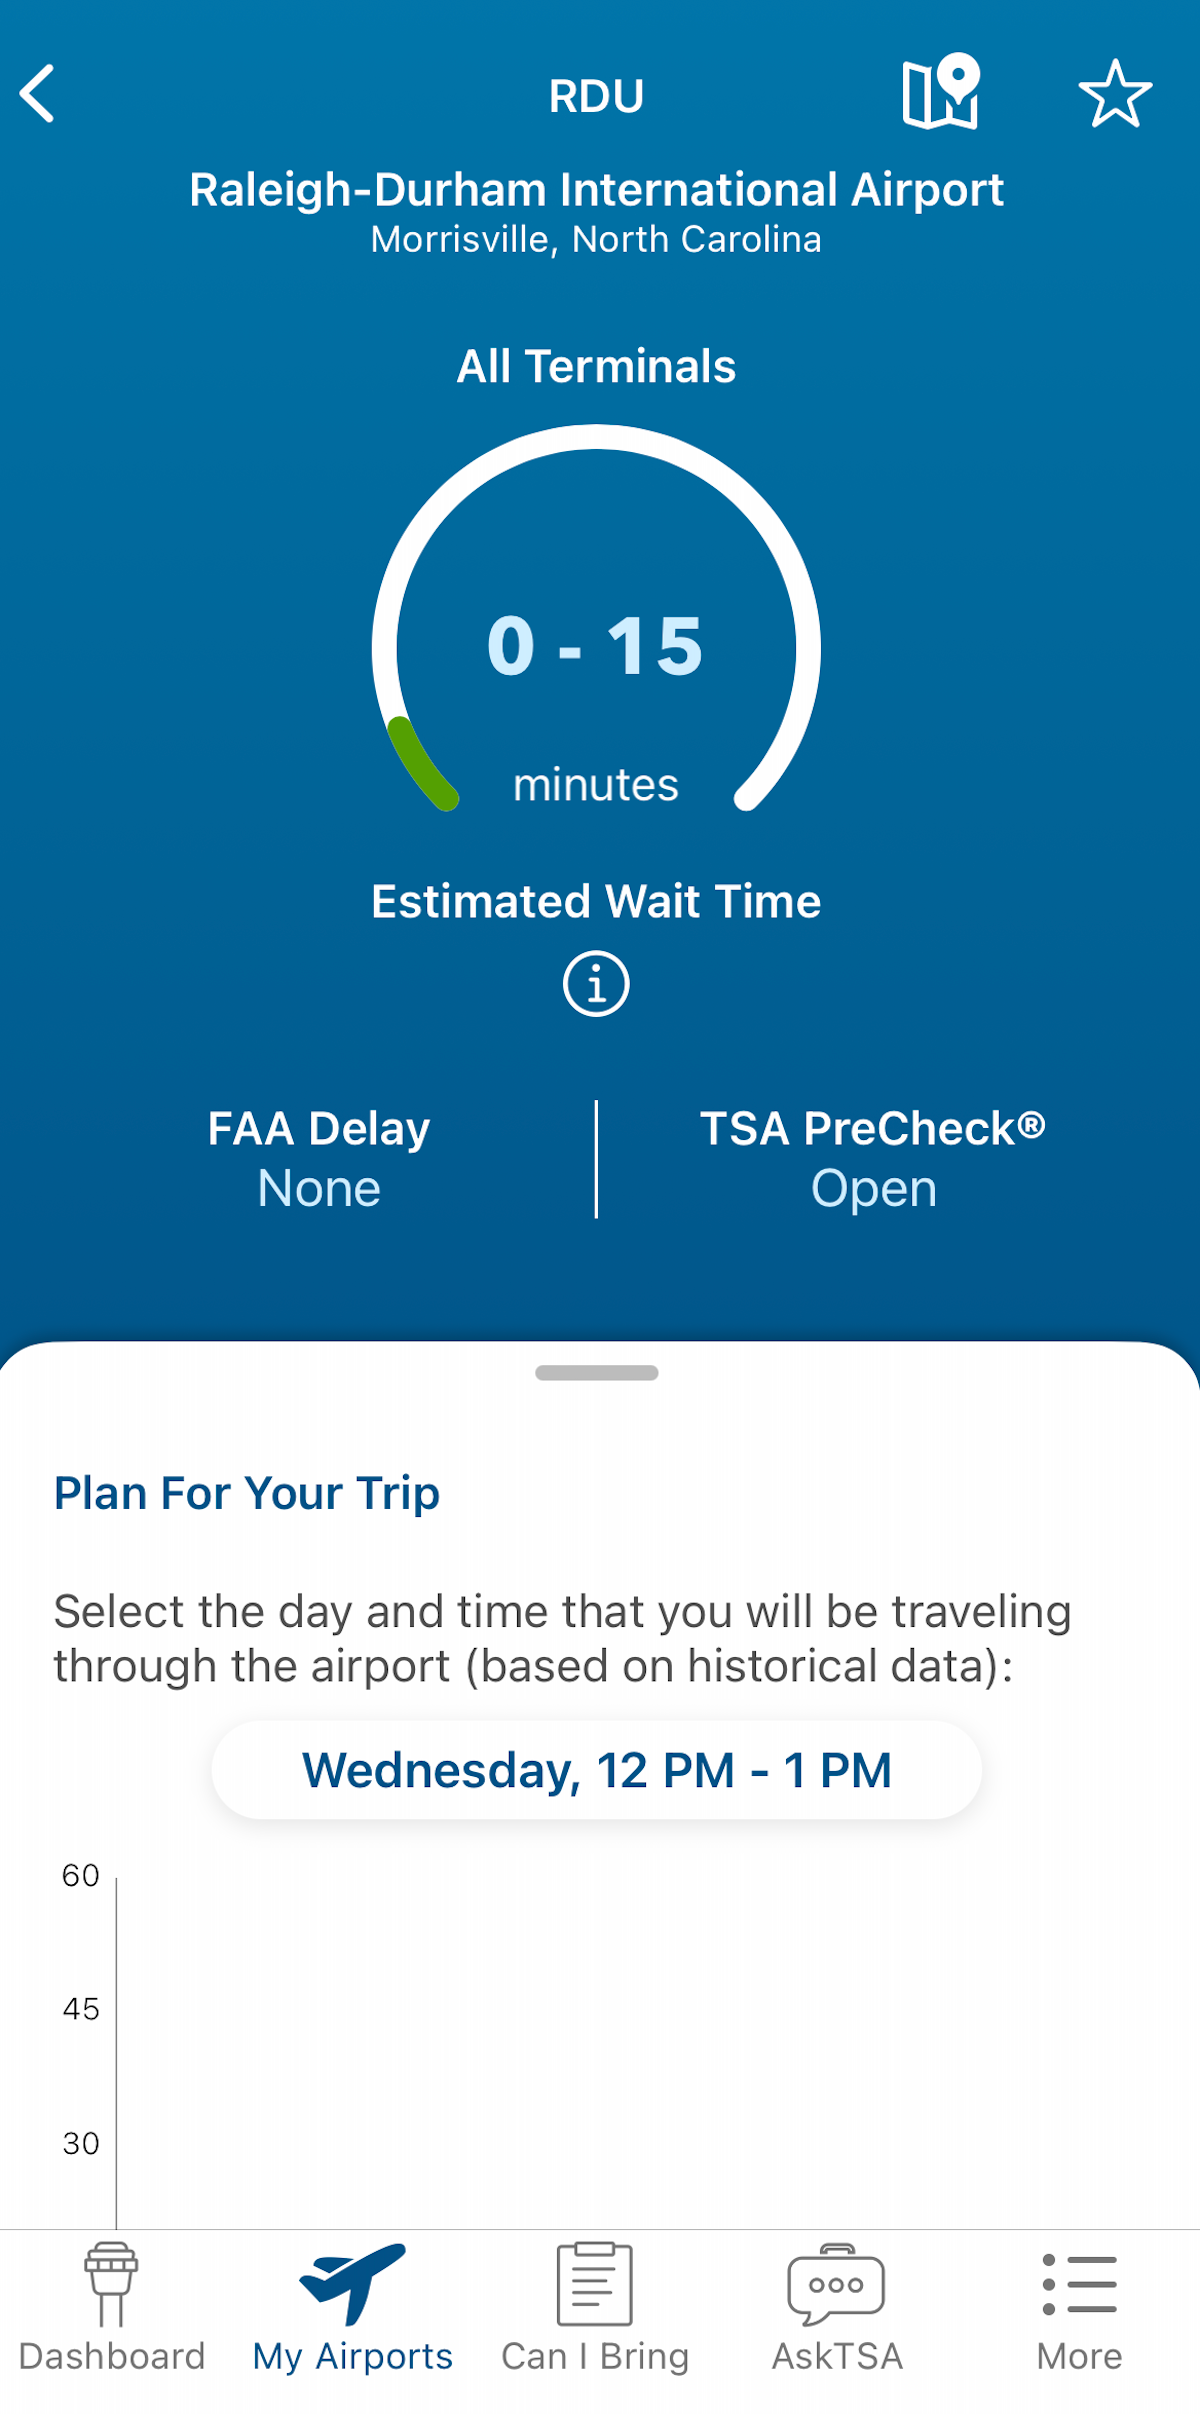
This app also shows whether a Federal Aviation Administration delay program is happening; this may not greatly affect security wait times, but it likely means flight delays are widespread.

Estimating future wait times

The TSA app can also help you plan how early to get to the airport by showing estimated future wait times based on past data.

Let’s say you’re planning to fly out of LaGuardia Airport (LGA) in the morning on a Friday — often the busiest travel day of the week. You could use the app to see what the TSA checkpoints at LaGuardia are typically like between 6 and 7 a.m. on a Friday.

tsa app
MYTSA APP

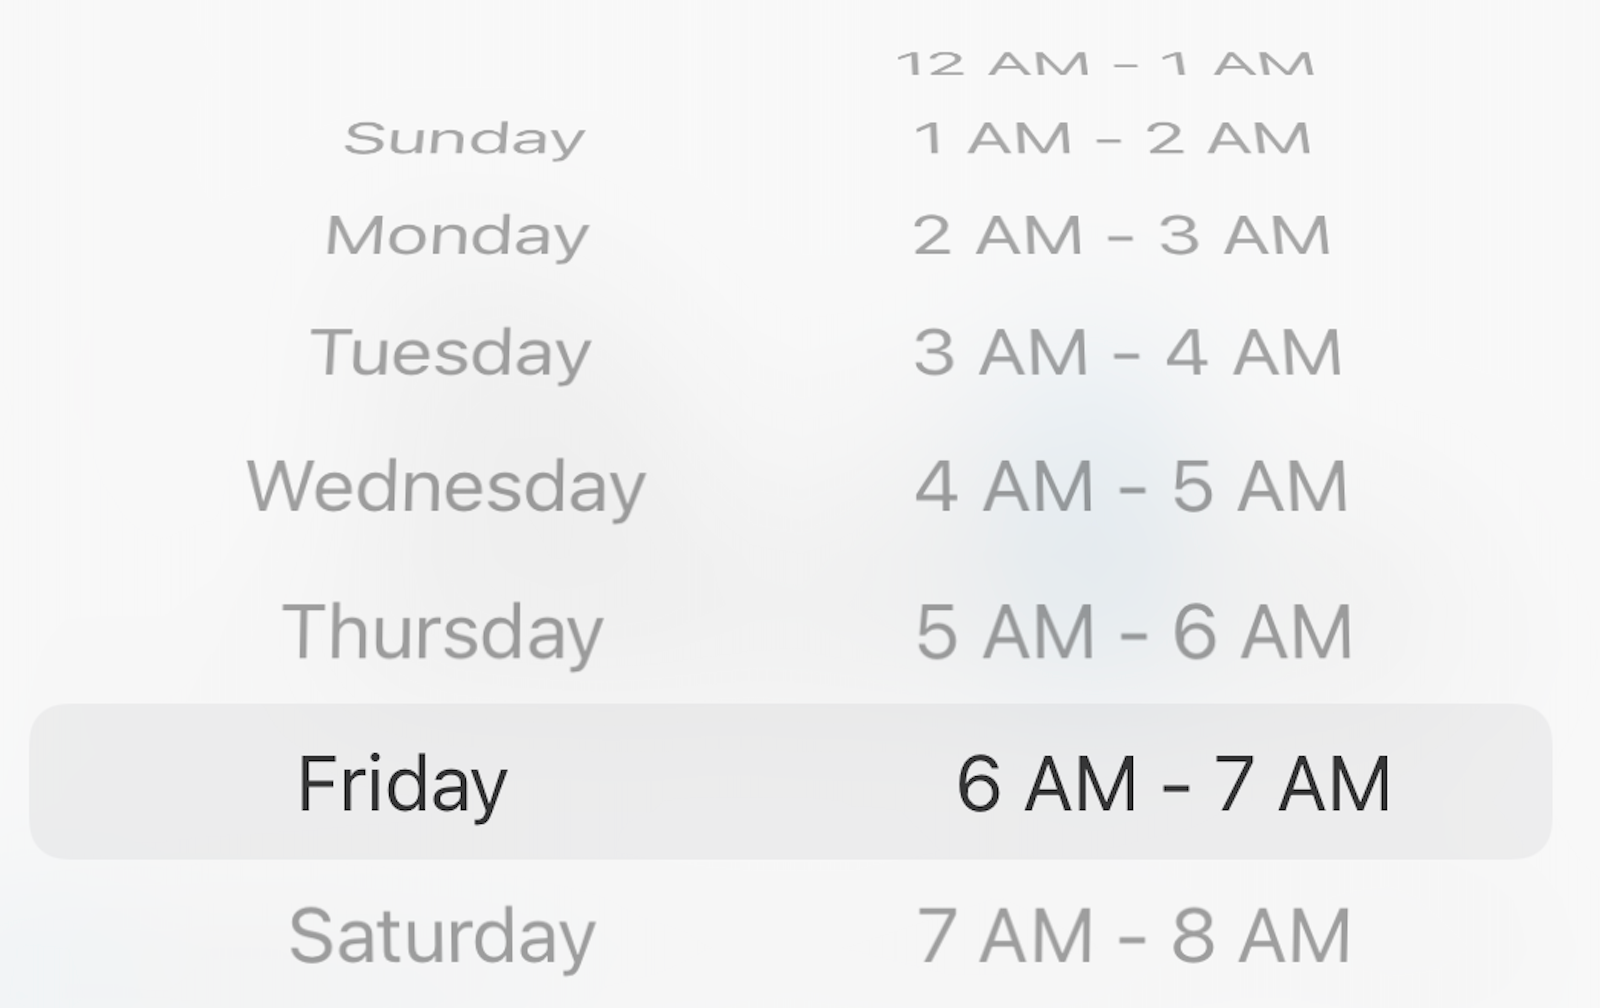
I saw that waits are often 15 to 30 minutes during that time, with longer waits later in the afternoon.

tsa app
MYTSA APP

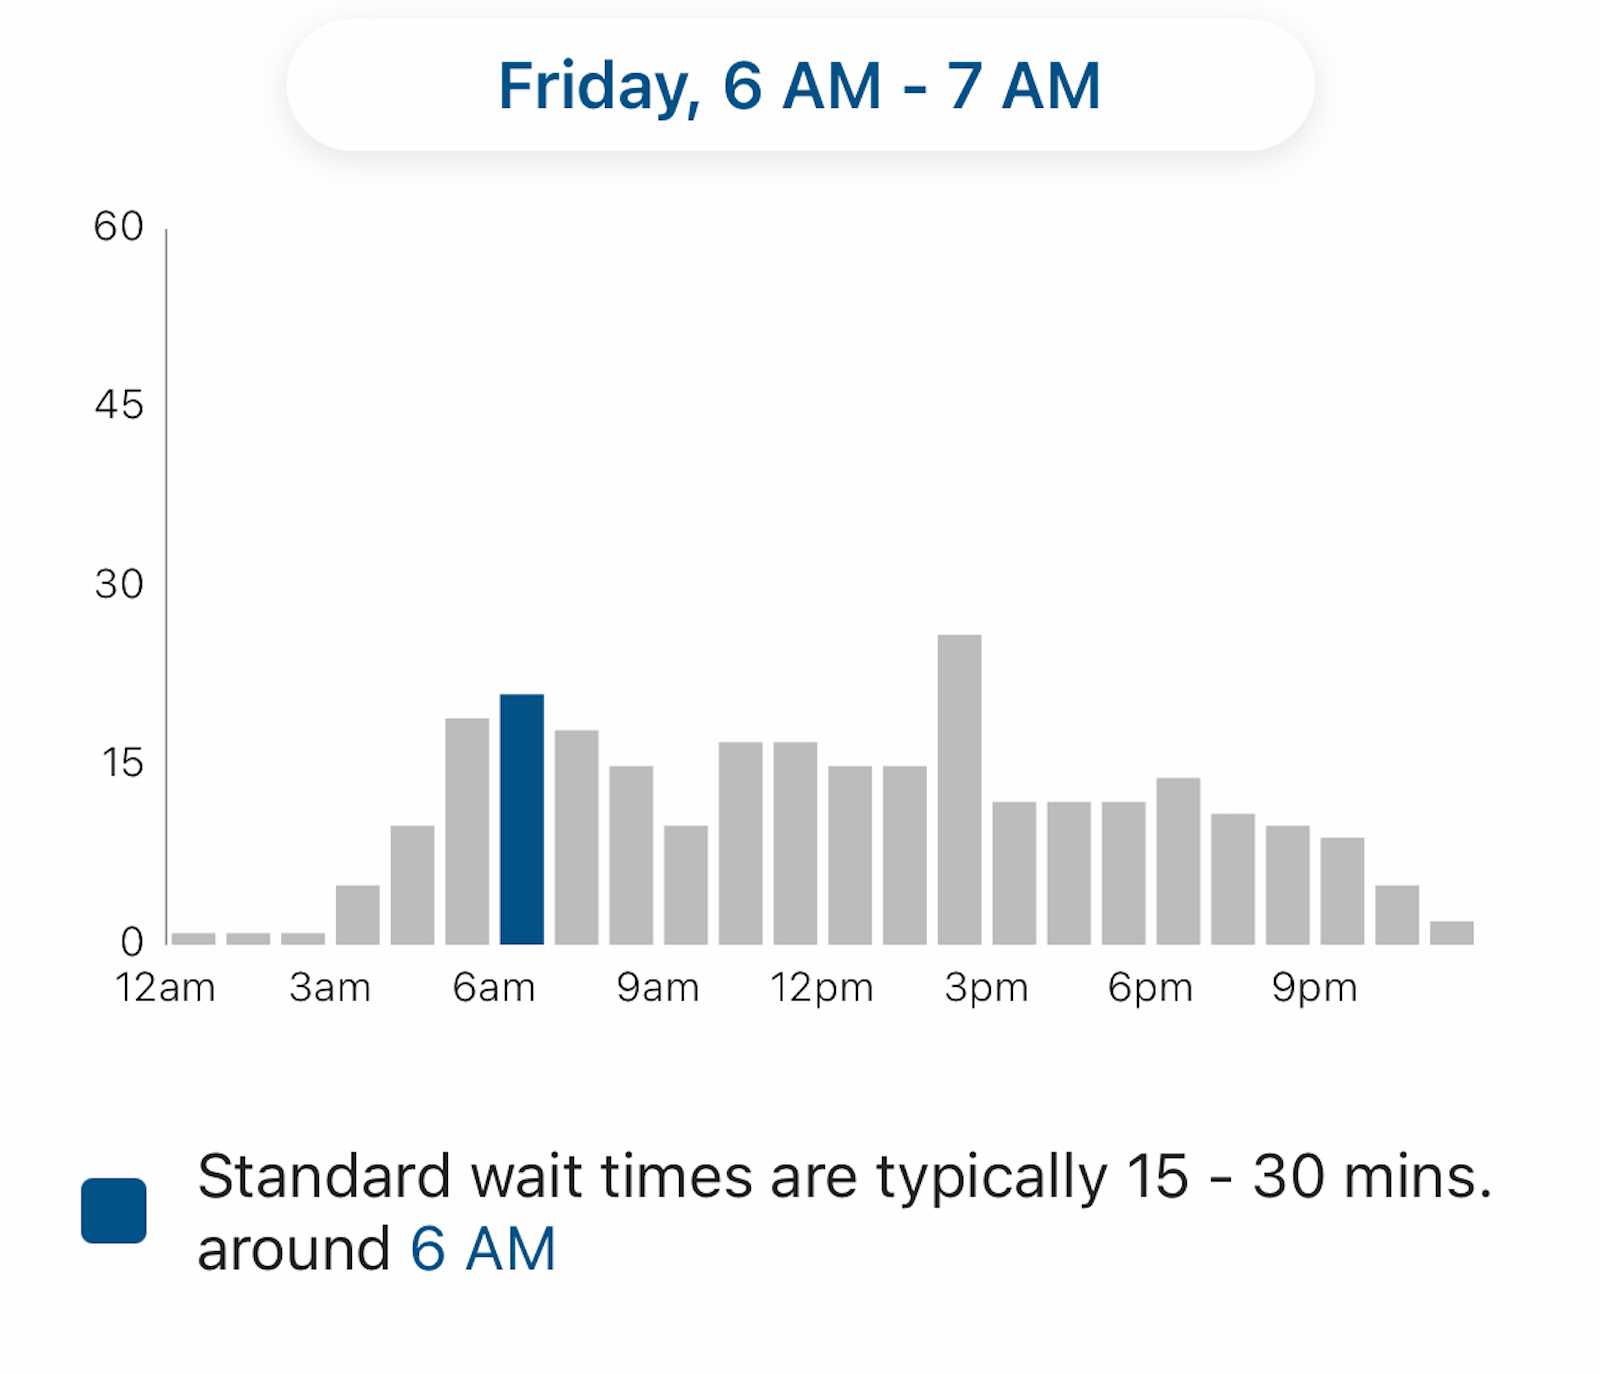
Keep in mind that if you have TSA PreCheck, your wait will almost certainly be shorter. As the app points out, most TSA PreCheck passengers (nationwide) typically wait five minutes or less.

TPG’s tracker: Better yet, try out TPG’s new tool for tracking TSA wait times!

rdu tsa checkpoint terminal 1
The TSA checkpoint at Raleigh-Durham International Airport (RDU) Terminal 1. SEAN CUDAHY/THE POINTS GUY

Checking 3-1-1 compliance

The app doesn’t just help you plan how early to get to the airport.

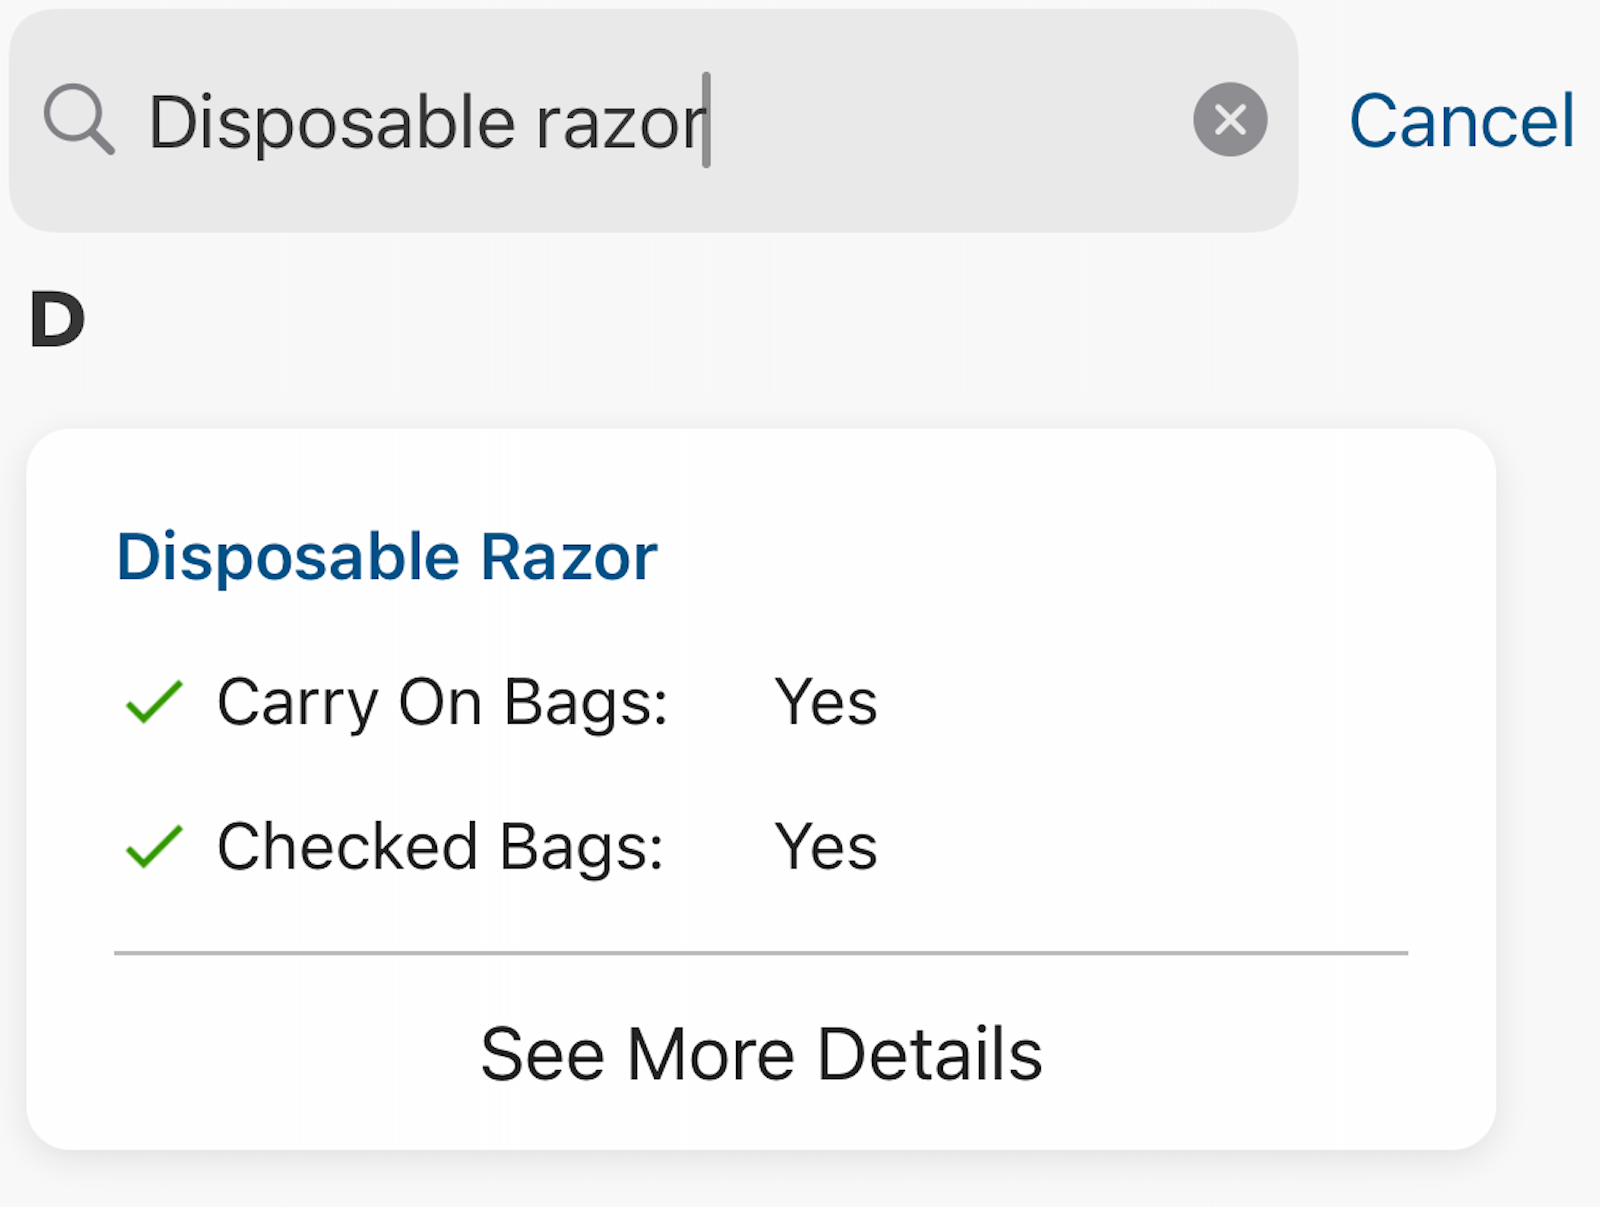
You can use it to double-check whether the items in your carry-on bag comply with the agency’s rules for liquids and prohibited items.

tsa app
MYTSA APP

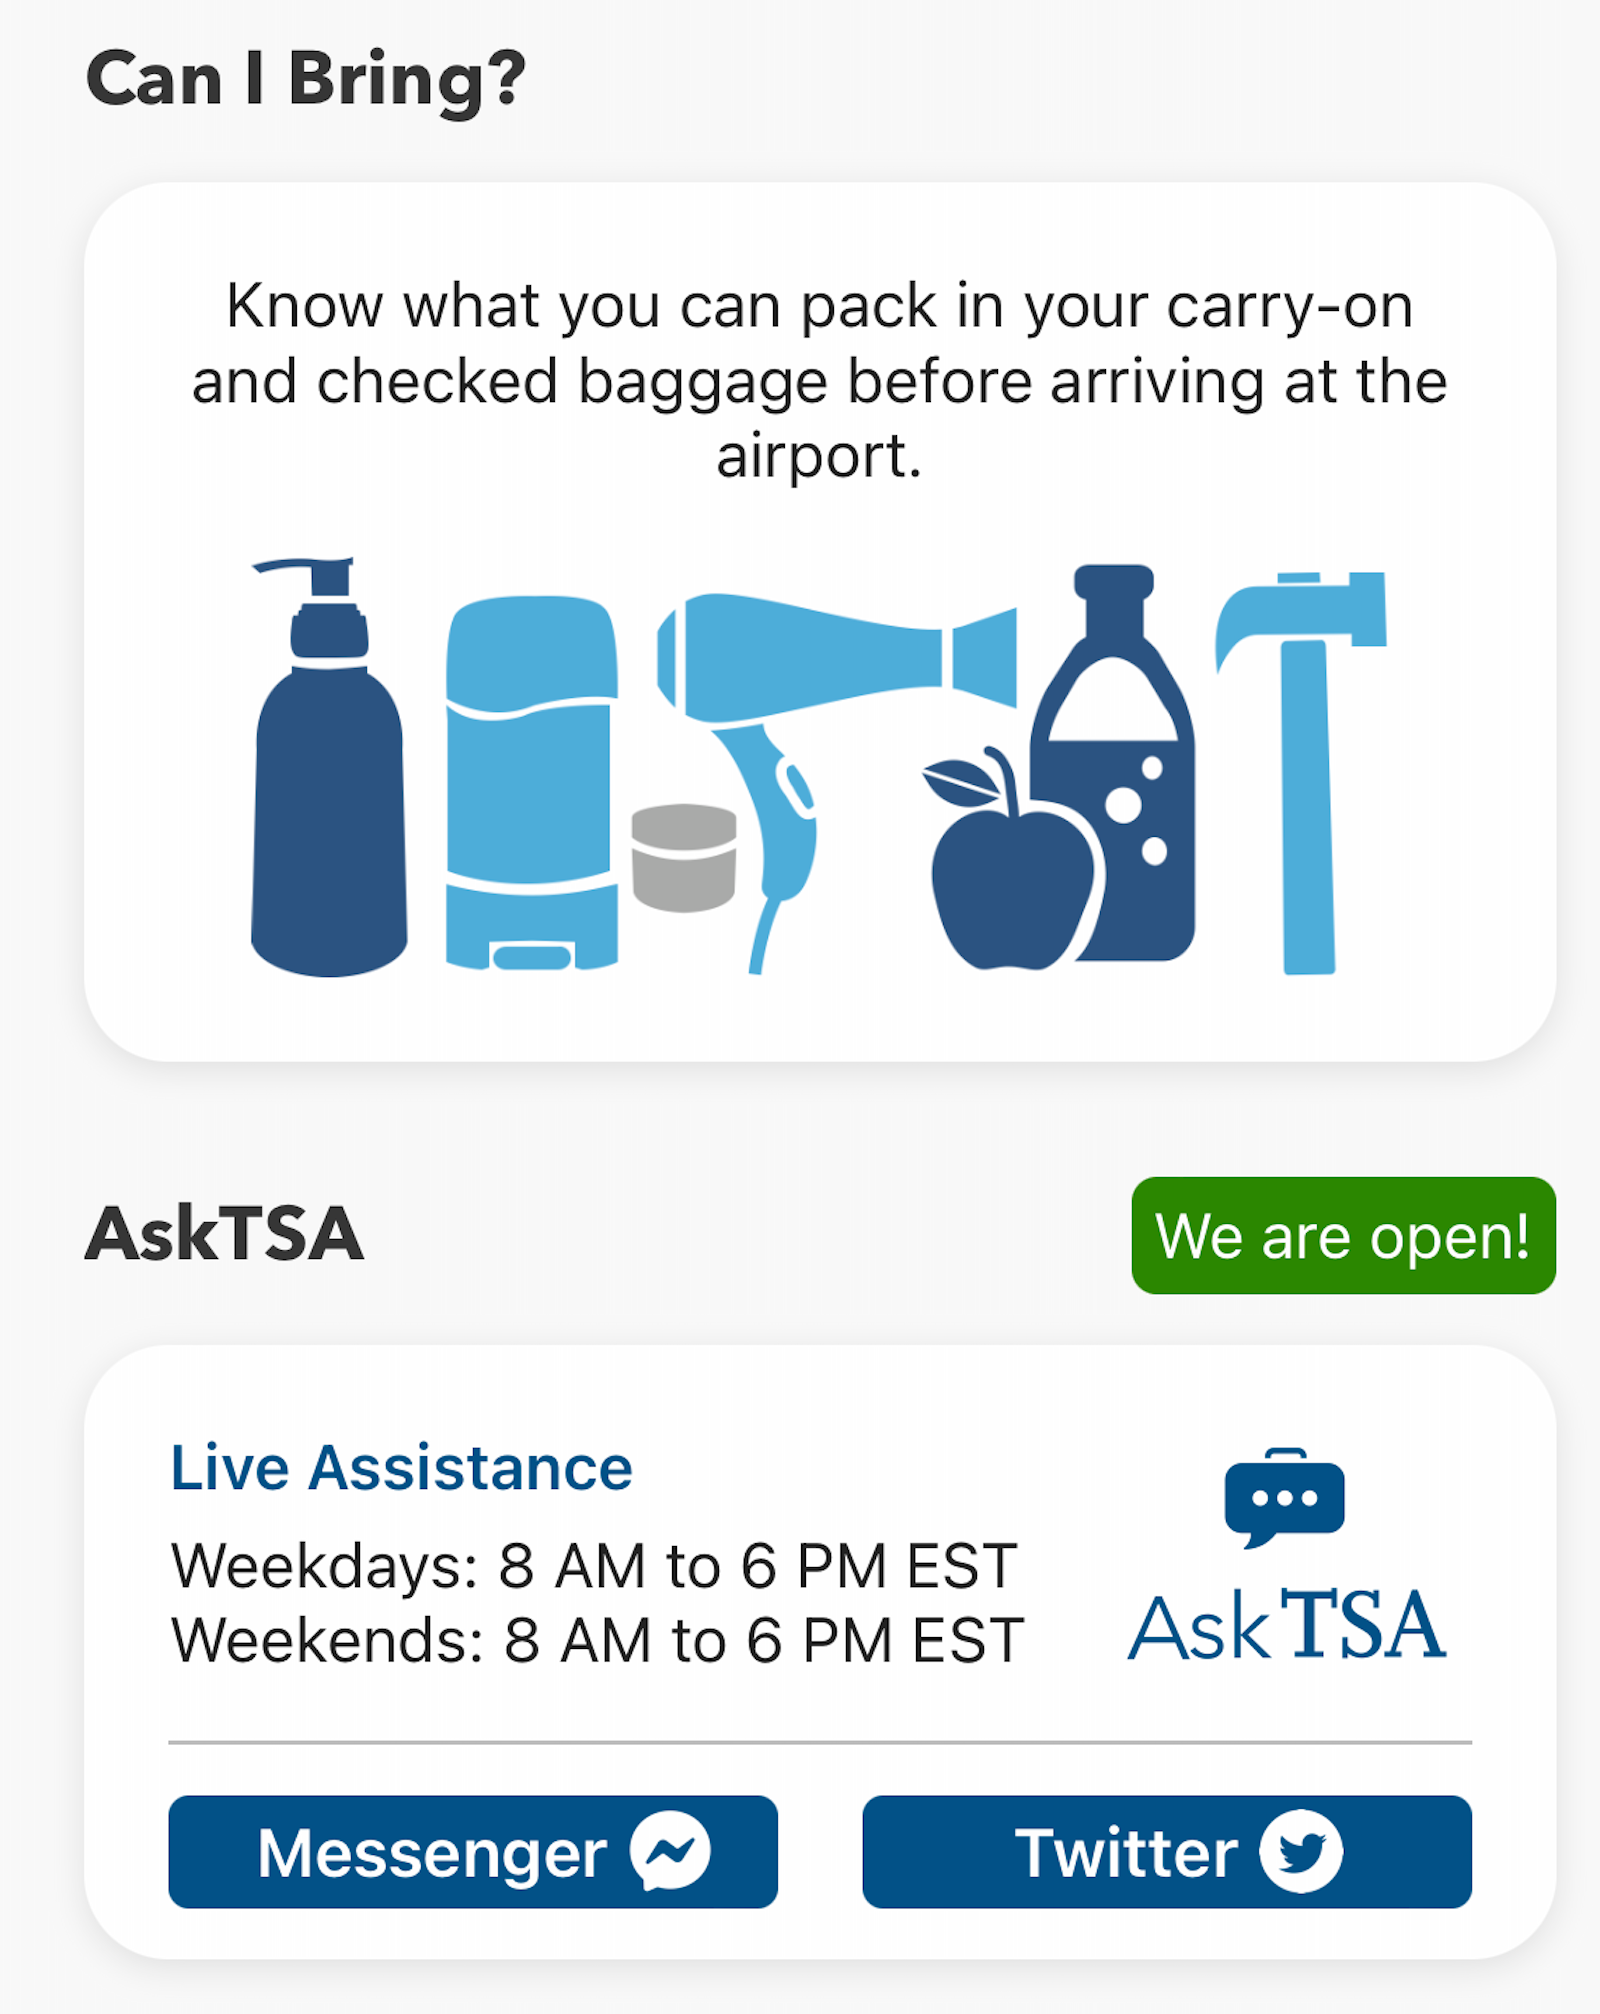
After my electric razor recently died, I felt compelled to double-check whether disposable razors are allowed in carry-on bags. I typed it into the search bar on the app and saw that I was clear to bring one.

tsa app
MYTSA APP

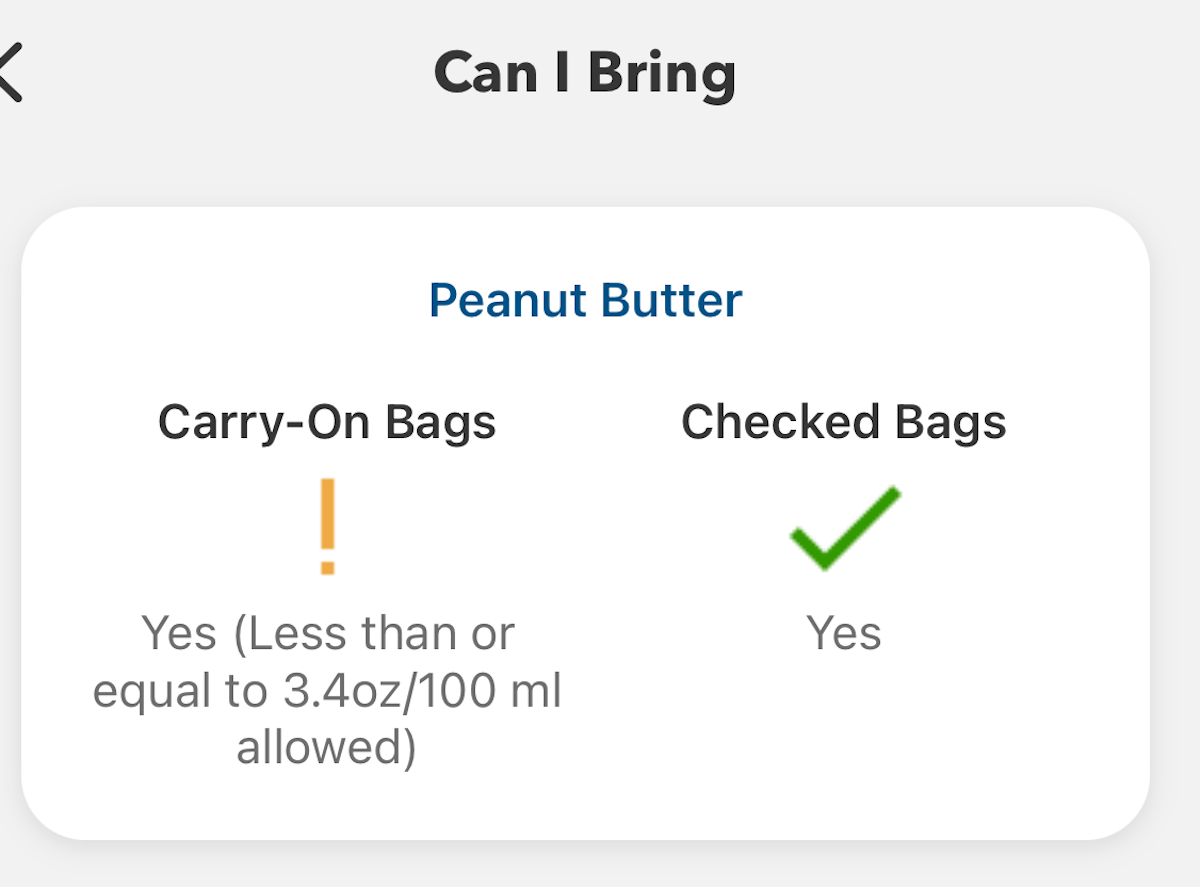
On the other hand, if you search for “peanut butter,” you’ll find that this is prohibited in quantities greater than 3.4 ounces. So, it would have to go in your checked bag.

MYTSA APP

Government shutdown warning

Just remember: In the (all too common) event of a government shutdown, the app generally doesn’t get updated and isn’t reliable. In that case, you have to rely on alternative sources of information, such as trackers or social media feeds from your airport.

Bottom line

Planning ahead is critical when it comes to air travel. The MyTSA app can help you see what security screening waits may lie ahead — among other useful features.

Enrolling in time-saving programs like Clear and Global Entry or TSA PreCheck (and making use of application fee reimbursements offered by some travel credit cards) can also make the trip through security more predictable.

Finally, TSA PreCheck members should remember to enroll in the ultrafast TSA PreCheck Touchless ID program, now available at more than 60 airports nationwide. Accessing these lanes doesn’t cost extra, but does require pre-registration.

Related reading:


Source link

Leave a Reply

Subscribe to Our Newsletter

Get our latest articles delivered straight to your inbox. No spam, we promise.

Recent Reviews


Install ElasticSearch – Table of Content

In this tutorial, you will learn the general features of Elasticsearch and how to install the elasticsearch step by step.

                       Become a Elasticsearch Certified professional  by learning Elasticsearch online course from hkrtrainings! 

Elasticsearch key features:

The following are the curated features of elasticsearch. They are:

  • Elasticsearch can handle unstructured data up to petabytes in size.
  • Elasticsearch can be used to replace document stores such as MongoDB and RavenDB.
  • Denormalization is used by Elasticsearch to improve search performance.
  • Elasticsearch is a popular enterprise search engine that is currently used by many large organizations such as Wikipedia, The Guardian, StackOverflow, GitHub, and others.
  • Elasticsearch is open source and distributed under the Apache License 2.0. 

Now we will learn about the installation of elasticsearch step by step.

Installation of Elasticsearch:

Step1: Explore the version of Java that is installed on your computer. Java 7 or higher is required. You can double-check by doing the following:

In the Windows Operating System (OS) (via the command prompt)

>java-version

In UNIX OS (Using Terminal) −

$ echo $JAVA_HOME

Step2: Download Elasticsearch from www.elastic.co, as indicated below, depending on your operating system.

  • Download the ZIP file for Windows.
  • Download the TAR file for UNIX OS.
  • Download the DEB file for Debian OS.
  • Download the RPN file for Red Hat and other Linux distributions.
  • In many Linux distributions, the APT and Yum utilities can also be used to install Elasticsearch.

Step3:

Elasticsearch installation is straightforward, as described below for various operating systems.Windows Operating System Elasticsearch is installed after unzipping the zip package.UNIX Operating System Elasticsearch is installed after extracting the tar file to any location.

$wget

https://artifacts.elastic.co/downloads/elasticsearch/elasticsearch7.0.0-linux-x86_64.tar.gz

$tar -xzf elasticsearch-7.0.0-linux-x86_64.tar.gz

  • Use the APT utility for Linux OS− Download and install the Public Signing Key

$ wget -qo – https://artifacts.elastic.co/GPG-KEY-elasticsearch | sudo

apt-key add –

Save the repository definition as shown below −

$ echo “deb https://artifacts.elastic.co/packages/7.x/apt stable main” |

sudo tee -a /etc/apt/sources.list.d/elastic-7.x.list

  • Perform run update function using the below command.

$ sudo apt-get update

ElasticSearch Training

  • Master Your Craft
  • Lifetime LMS & Faculty Access
  • 24/7 online expert support
  • Real-world & Project Based Learning

Now you need to install by using the following command −

$ sudo apt-get install elasticsearch

  • Now download and install the Debian package manually using the command given here −

$wget https://artifacts.elastic.co/downloads/elasticsearch/elasticsearch7.0.0-amd64.deb

$sudo dpkg -i elasticsearch-7.0.0-amd64.deb0

  • Using YUM utility for Debian Linux OS

Download and install the Public Signing Key −

$ rpm –import https://artifacts.elastic.co/GPG-KEY-elasticsearch

  • ADD the following text in the file with the .repo suffix in your “/etc/yum.repos.d/” directory. For example, elasticsearch.repo

elasticsearch-7.x]

name=Elasticsearch repository for 7.x packages

baseurl=https://artifacts.elastic.co/packages/7.x/yum

gpgcheck=1

gpgkey=https://artifacts.elastic.co/GPG-KEY-elasticsearch

enabled=1

autorefresh=1

type=rpm-md

  • Now you can now install Elasticsearch by using the following command

sudo yum install elasticsearch

Step4: Navigate to the bin folder in the Elasticsearch home directory. In the case of Windows, run the elasticsearch.bat file, or in the case of UNIX, use command prompt and terminal to run the Elasticsearch file.

In Windows

> cd elasticsearch-2.1.0/bin

> elasticsearch

Big Data Analytics, install-elasticsearch-description-0, Big Data Analytics, install-elasticsearch-description-1

Subscribe to our YouTube channel to get new updates..!

In Linux

$ cd elasticsearch-2.1.0/bin

$ ./elasticsearch

Step5: The default port for the Elasticsearch web interface is 9200, but this can be changed by changing http.port in the elasticsearch.yml file located in the bin directory. To see if the server is up and running, go to http://localhost:9200. It will return a JSON object containing information about the installed Elasticsearch in the format shown below.

{

   "name" : "Brain-Child",

   "cluster_name" : "elasticsearch", "version" : {

      "number" : "2.1.0",

      "build_hash" : "72cd1f1a3eee09505e036106146dc1949dc5dc87",

      "build_timestamp" : "2015-11-18T22:40:03Z",

      "build_snapshot" : false,

      "lucene_version" : "5.3.1"

   },

   "tagline" : "You Know, for Search"

}

Step6: Now we should install Kibana. Follow the respective code given below for installing on Linux and Windows −

For Installation on Linux −

wget https://artifacts.elastic.co/downloads/kibana/kibana-7.0.0-linuxx86_64.tar.gz

tar -xzf kibana-7.0.0-linux-x86_64.tar.gz

cd kibana-7.0.0-linux-x86_64/

./bin/kibana

For Windows Installation

Kibana for Windows can be downloaded from https://www.elastic.co/products/kibana. When you click the link, you will be taken to the home page, as shown below.

installation_on_windows

Unzip and go to the Kibana home directory in order to run it. 

CD c:\kibana-7.0.0-windows-x86_64

.\bin\kibana.bat

ElasticSearch Training

Weekday / Weekend Batches

Conclusion:

In the above blog post we had explained about the installation steps of elasticsearch both for linux and windows operating system. Had any queries drop them in the comments section to get them resolved.

Related Articles:


Source link