Introduction to Kali Linux:
Kali Linux is an open source system available in the Linux operating system. Nowadays, it is considered as a one of the best security Linux packages mainly used for ethical hackers. In this Kali Linux system, all the tools can be differentiated on the basis of different categories. Kali Linux is an advanced penetration testing and security auditing Linux distribution. Kali Linux is named after one of the Hindu Goddesses namely “Maa Kali”. This type of Linux system was first developed by Mati Aharoni is one of the lead Linux developers, trainers, and founders of offensive security.
Features of Kali Linux:
The following are the important features of Kali Linux:
1. Offers complete customizations.
2. Supports multiple languages.
3. Provides vast wireless device support for multiple machines and compatible with USB devices.
4. Helps to switch from Ubuntu to Debian.
5. Easy upgrade to future versions.
Become a Linux Certified professional by learning this HKR Linux Training !
Why do people use Kali Linux?
The following are the key features of Kali Linux that will benefit the people:
1. Offers advanced penetration testing tool:
Kali Linux supports more than 500+ advanced penetration testing tools across multiple devices. The tools which are used in Linux sometimes cannot be repeated much like “Backtrack”.
2. Available as a free Linux tool:
The kali Linux system is totally free and offers better time services for multiple users. This is one of the huge factors to use this Linux system.
3. It is an open source GIT tool:
The kali Linux is an open source system and can be accessed by multiple users. All the codes which we have developed can be accessed by anyone. The open development source of Kali Linux can make an easy view to the development team.
4. Supportive tool:
Kali Linux offers hierarchical file systems, allows users to locate binaries, packages and supporting files, etc. This is also an important feature of kali Linux when compared to other Linux systems.
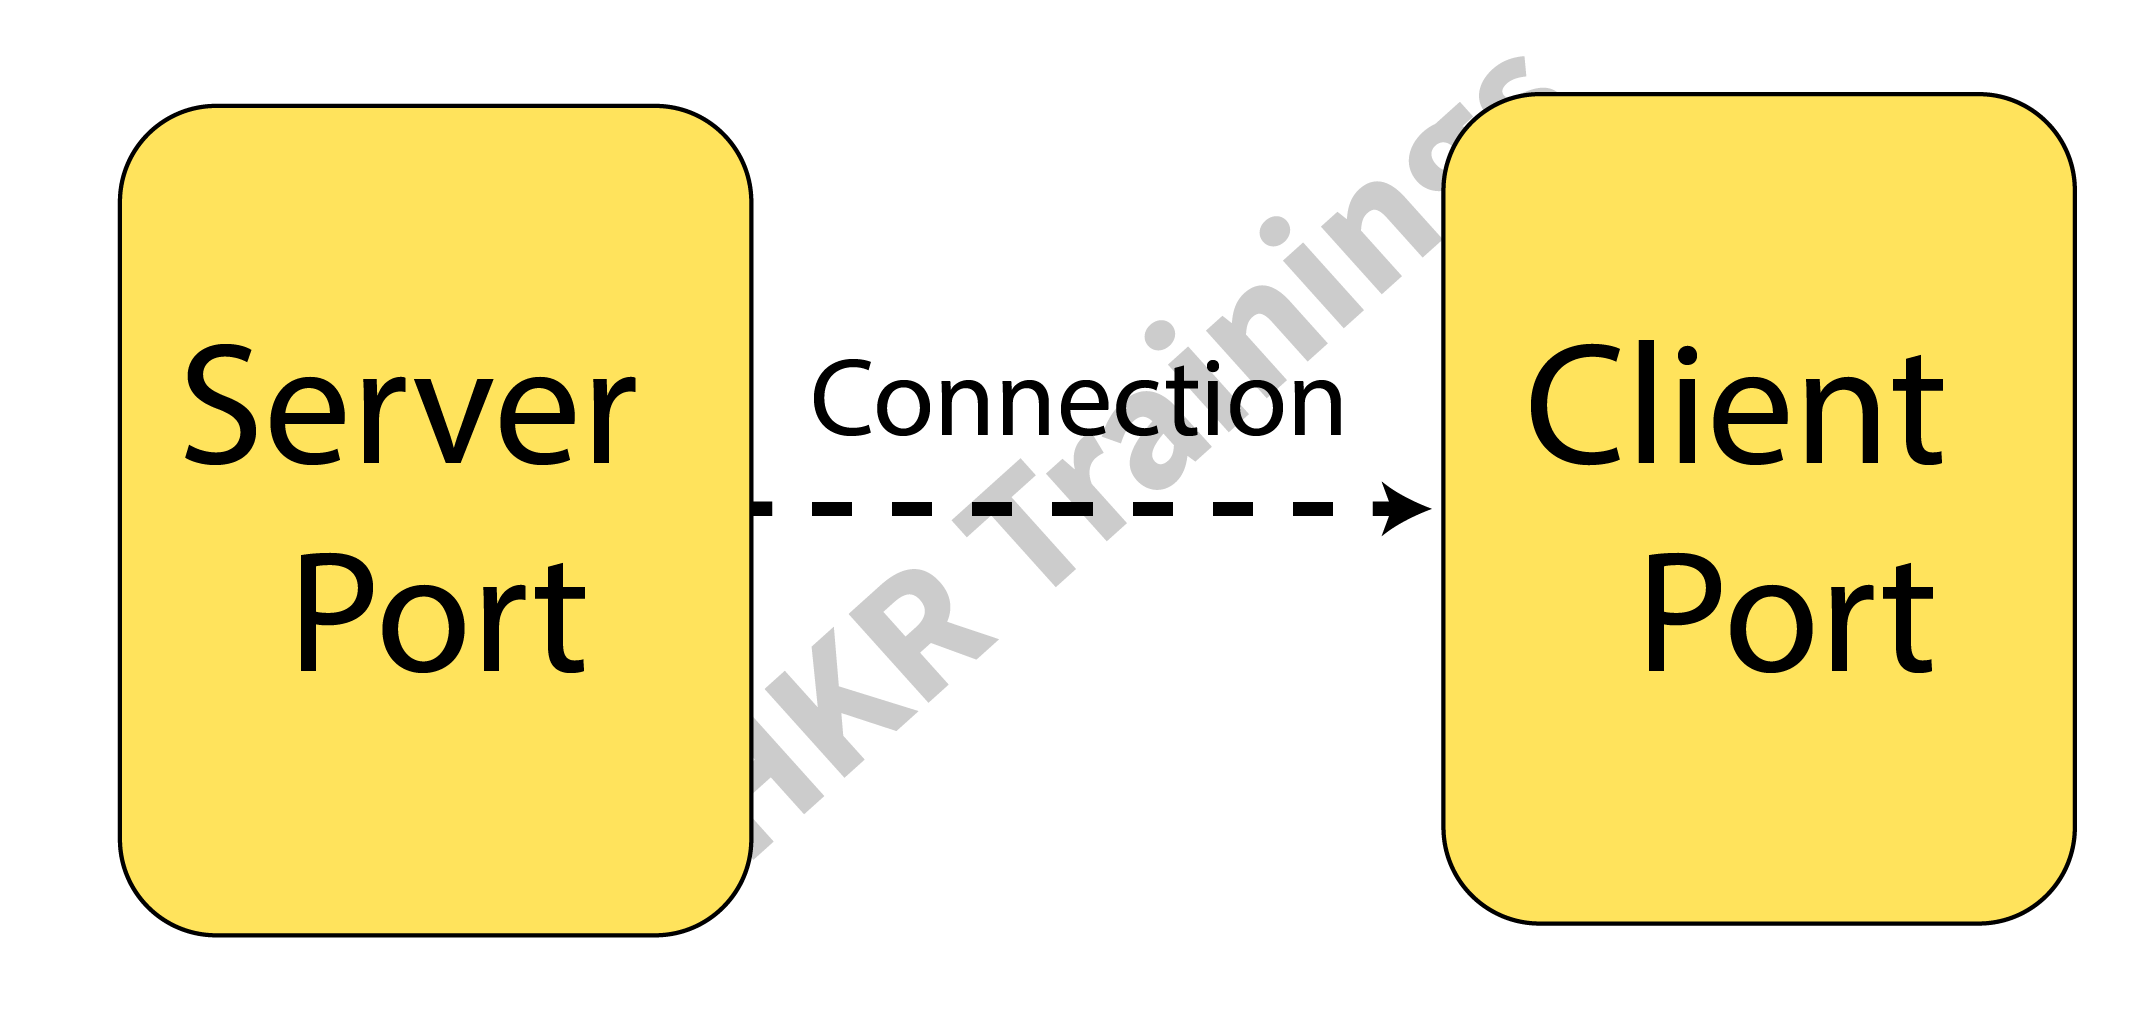
Kali Linux installation and configuration guide:
In this section, we are going to explain the installation and configuration of Kali Linux:
A Back track was the older version of Kali Linux and the latest version of Kali 2016. 1 and it will be updated often.

To install Kali Linux we have to follow these two steps:
1. Firstly, we have to download the Virtual box and then install it.
2. Then, we have to download and install the Kali Linux distribution software.
Want to know more about Linux, visit here Linux Tutorial !
Now we will discuss each step in brief:
1. Download and install the virtual box:
A virtual box is very useful when you want to test the codes in Kali Linux. Running Kali Linux codes on a Virtual box is safe and you can also know the unknown packages to test the codes.
By using the virtual box you can install Kali Linux on your device along with primary operating systems (like MAC, Windows, and Linux).
Now see the steps to download and install the virtual box:
Step1: To download the virtual box, go to the web page https: //www.virtualbox.org/wiki/Downloads. Now depending on your operating system, you need to select the right package. If you are using windows, you have to follow the below screen shot to know more,

Step2: Now click on the Next button:

Step 3: On the next page, you have to choose the location where you want to save the executable file. Now leave that as default and click next,

Step 4: Click Next and the following custom setup screenshot will pop up ->then select the features that you want to install -> now click the next button.

Step 5: Now click on yes to proceed with other installation processes.

Join our Embedded Systems Product Design Life Cycle Training today and enhance your skills to new heights!

Linux Certification Training
- Master Your Craft
- Lifetime LMS & Faculty Access
- 24/7 online expert support
- Real-world & Project Based Learning
Step 6: Now ready to install screen will pop up-> then click install.

Step 7: Now click on the finish button.

The virtual box application screen will pop up. Now we are all set to install the rest of the host file for the manual device and also recommended for professional usage.

Installing Kali Linux:
We have already installed the virtual box, now move to the next stop then install Kali Linux.
Step1: It’s time to download the Kali Linux package from the Kali official web page https: //www.kali.org/downloads.

Step2: Now click on virtual box -> select new as shown in the following screenshot,

Step 3: Now choose the correct virtual hard disk file -> click on open.

Want to gain knowledge in Gradle? Then visit here to learn Gradle Training!
Subscribe to our YouTube channel to get new updates..!
Step 4: you can see the following screenshot, then click on the create button.

Step 5: Now start the Kali Operating system, the default username is a root and the password is toor.
Update the kali software:
Once you finish installing, now it’s time to update the Kali Linux and provide a newer version to get advanced functionalities. The below are the steps involved update the Kali software;
Top 30 frequently asked Linux Interview Questions !
Step1: First go to the application -> then click on terminal-> after that, type “apt-get an update”-> then update the location as shown in the following screenshot.


Step 2: Now it’s time to upgrade the applications and tools -> then type “apt-get upgrade” -> then the packages/libraries will be downloaded.

Step 3: The below screenshot will ask, if you want to continue -> then type “Y” and click “Enter”.

Step 4: To upgrade any newer version of the Linux operating system -> then type “apt-get distupgrade”.

Laboratory set up:
In this section, we are going to set up the testing machine to perform any test-related applications with the help of Kali Linux tools.
Step1: You need to download metasploitable (this is a Linux machine). This can be downloaded from the official web page of Linux machine Rapid7 : https: //information.rapid7.com/ metasploitabledownload.html? LS (Linux system) = 1631875 & CS = Web.

Step 2: Register by supplying the details (as shown in the above screenshot). Once you finish filling the above form, you need to download the software.

Step 3: Click on the virtual box -> then select new.

Step 4: click on the use of an existing virtual hard disk file -> browse the appropriate file (where you have downloaded the Metasploitable -> then click on open.

Step 5: Then you will get a screen where you need to create a virtual machine -> click on create.

The default username you have to give is msfadmin and the password is msfadmin.

Linux Certification Training
Weekday / Weekend Batches
Is kali Linux better than Ubuntu?
The answer would be yes, Kali Linux system is better in the view of a pentester for the basic users it doesn’t require for general-purpose operations go with Ubuntu will all features. If you are in a dilemma about choosing Ubuntu software and having a thought of installing Kali Linux then there are other ways you can do it.
The following are the major points when you want to choose Kali and Ubuntu.
1. If you are looking for the operating system for network security, penetration testing, and other testing techniques, etc. Ubuntu cannot compete with the Kali Linux system.
2. If you are looking for the user –friendly, general-purpose operating system with the best GUI, Ubuntu is the best choice.
Ubuntu system is more suited for personal uses while Kali is best for Hackers, vulnerability testers and nerds, because of the tools they both come bundled with or (you can also install the same set of “Hacking” tools while installing on Ubuntu). Kali was a product of backtrack. Here all the binary packages only meant for Debian could be installed on Kali Linux and this is the power of the Kali Linux system. Kali has come with a number of penetration tools be it Wifi or any other database to be built instantly. One more point to be remembered is that Kali uses the APT for package management.
Become a Msbuild Certified professional by learning this HKR Msbuild Training!
Conclusion:
In this blog, we have explained the complete installation guide of the Kali Linux system, and also help our audience how to use it. The blog contents have been designed to help beginners who want to start their career as a Linux developer. This blog is also helpful for penetration testing experts. Once you finish this blog, you will be able to work on the moderate level to advanced applications of the Kali Linux system.
Related Articles:

Stephan is the sports journalist for the Maple Grove Report.