It’s generally a good idea to open a card with an airline you fly frequently. If you’re often on Avianca flights, the Avianca Lifemiles American Express® Card may very well be up your alley.
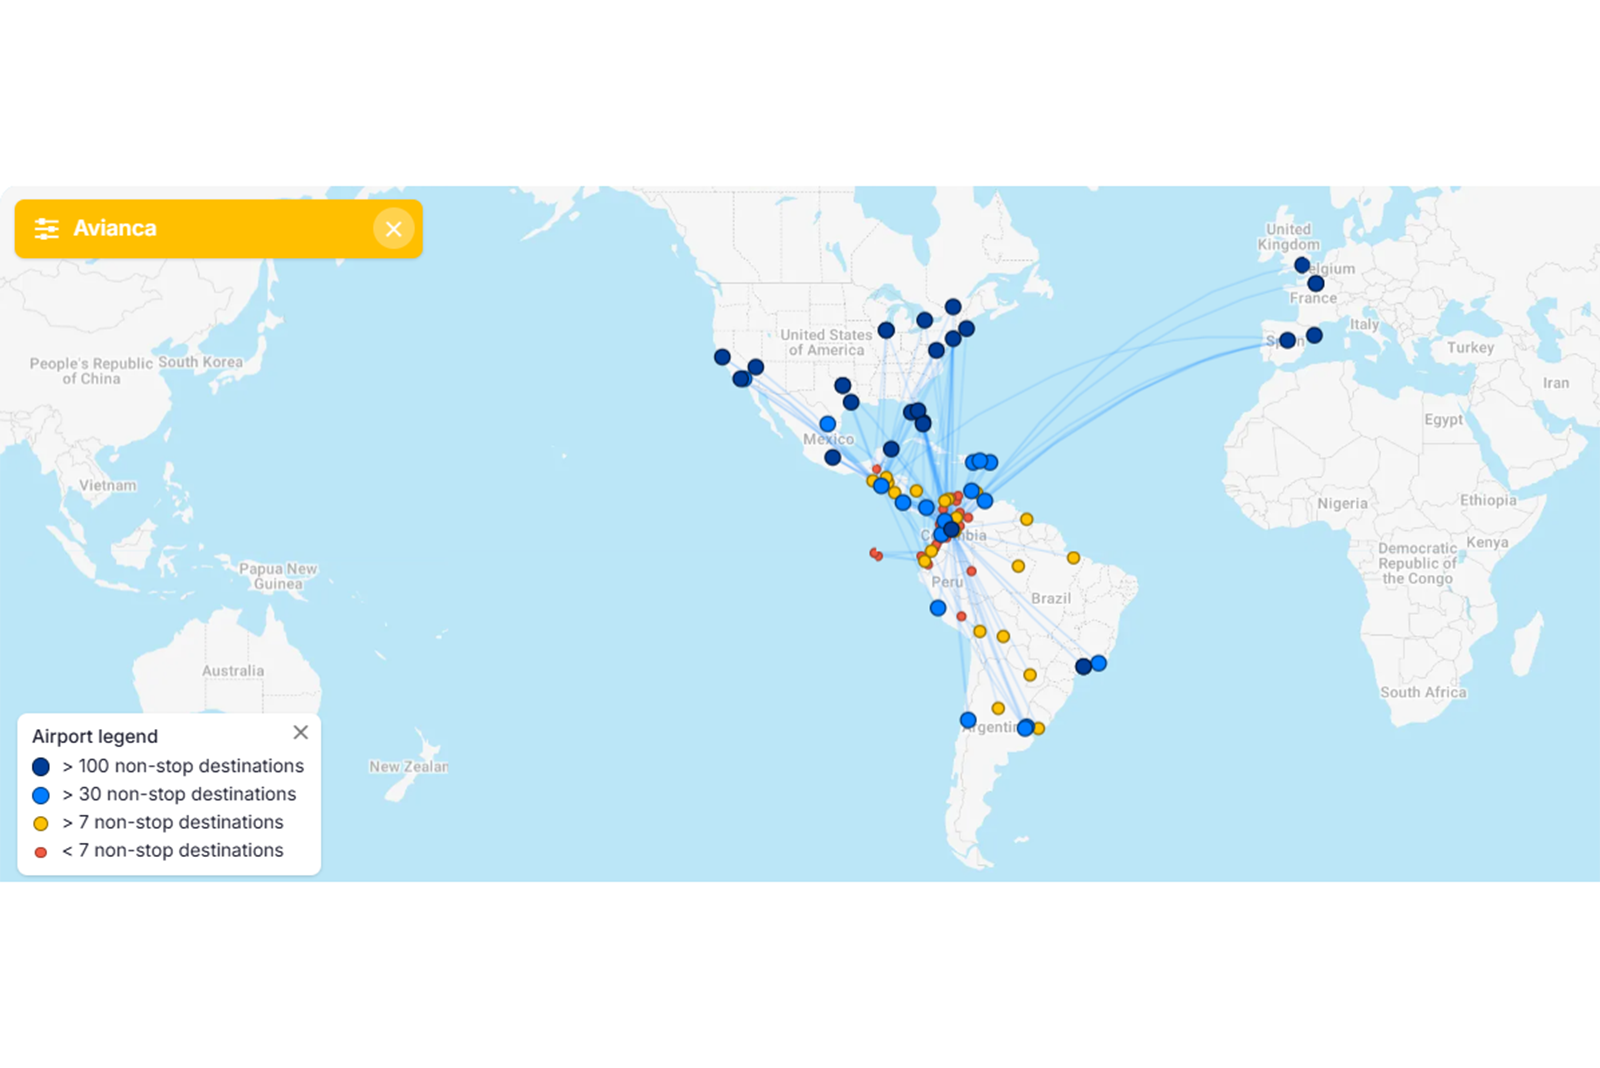
The main selling point of this mid-tier airline card is its complimentary Avianca elite status. I view it as a great fit for those who frequently fly to Colombia and Central America, the areas where Avianca’s route network is strongest. If you already have status with Avianca or only fly with the carrier occasionally, you may struggle to justify this card’s $99 annual fee (see rates and fees).
Card rating*: ⭐⭐⭐
*Card rating is based on the opinion of TPG’s editors and is not influenced by the card issuer.
Avianca Lifemiles Amex: The basics
The Avianca Lifemiles Amex looks like a fairly standard middle-of-the-road card at first glance. It has a $99 annual fee, earns bonus miles on Avianca purchases and a selection of everyday categories and comes with airline-specific benefits. It’s those airline perks that set it apart from other airline cards.
Specifically, the Avianca Lifemiles Amex offers complimentary airline elite status, something you rarely find on airline cards. You’ll receive Avianca Silver status with this card, granting you the following perks, among others:
- Avianca lounge access twice each year
- Extra-legroom seat selection
- Select upgrade options
- An extra free checked bag (excludes Basic and Light fares)
- Priority check-in and boarding (Group B)
Many airline cards make checked bags and priority boarding the centerpieces of their benefits, but the standout here for me is the lounge access. It’s very rare to come across sub-$300 cards that offer any kind of lounge access.
It may not be as far-reaching as a Priority Pass membership, but if your appetite for annual fees is slim, this card could be a good compromise.

Reward your inbox with the TPG Daily newsletter
Join over 700,000 readers for breaking news, in-depth guides and exclusive deals from TPG’s experts
On top of what you get through Avianca Silver status, this card has no foreign transaction fees (see rates and fees) and offers a 5% discount on redemptions for Avianca flights booked through Lifemiles.
It’s important to note that despite the name, the Avianca Lifemiles Amex isn’t issued by American Express. Rather, it’s issued on behalf of Cardless by First Electronic Bank using Amex’s payment network.
Avianca Lifemiles Amex pros and cons
| Pros | Cons |
|---|---|
|
|
Avianca Lifemiles Amex benefits
Currently, Avianca offers four status tiers. Silver status is the second tier, normally requiring 12,000 qualifying miles in a status qualification year (3,000 of which must be earned on Avianca flights). It matches to Star Alliance Silver status, a solid value proposition if you’re looking for basic benefits like priority waitlisting and standby with an entire airline alliance.
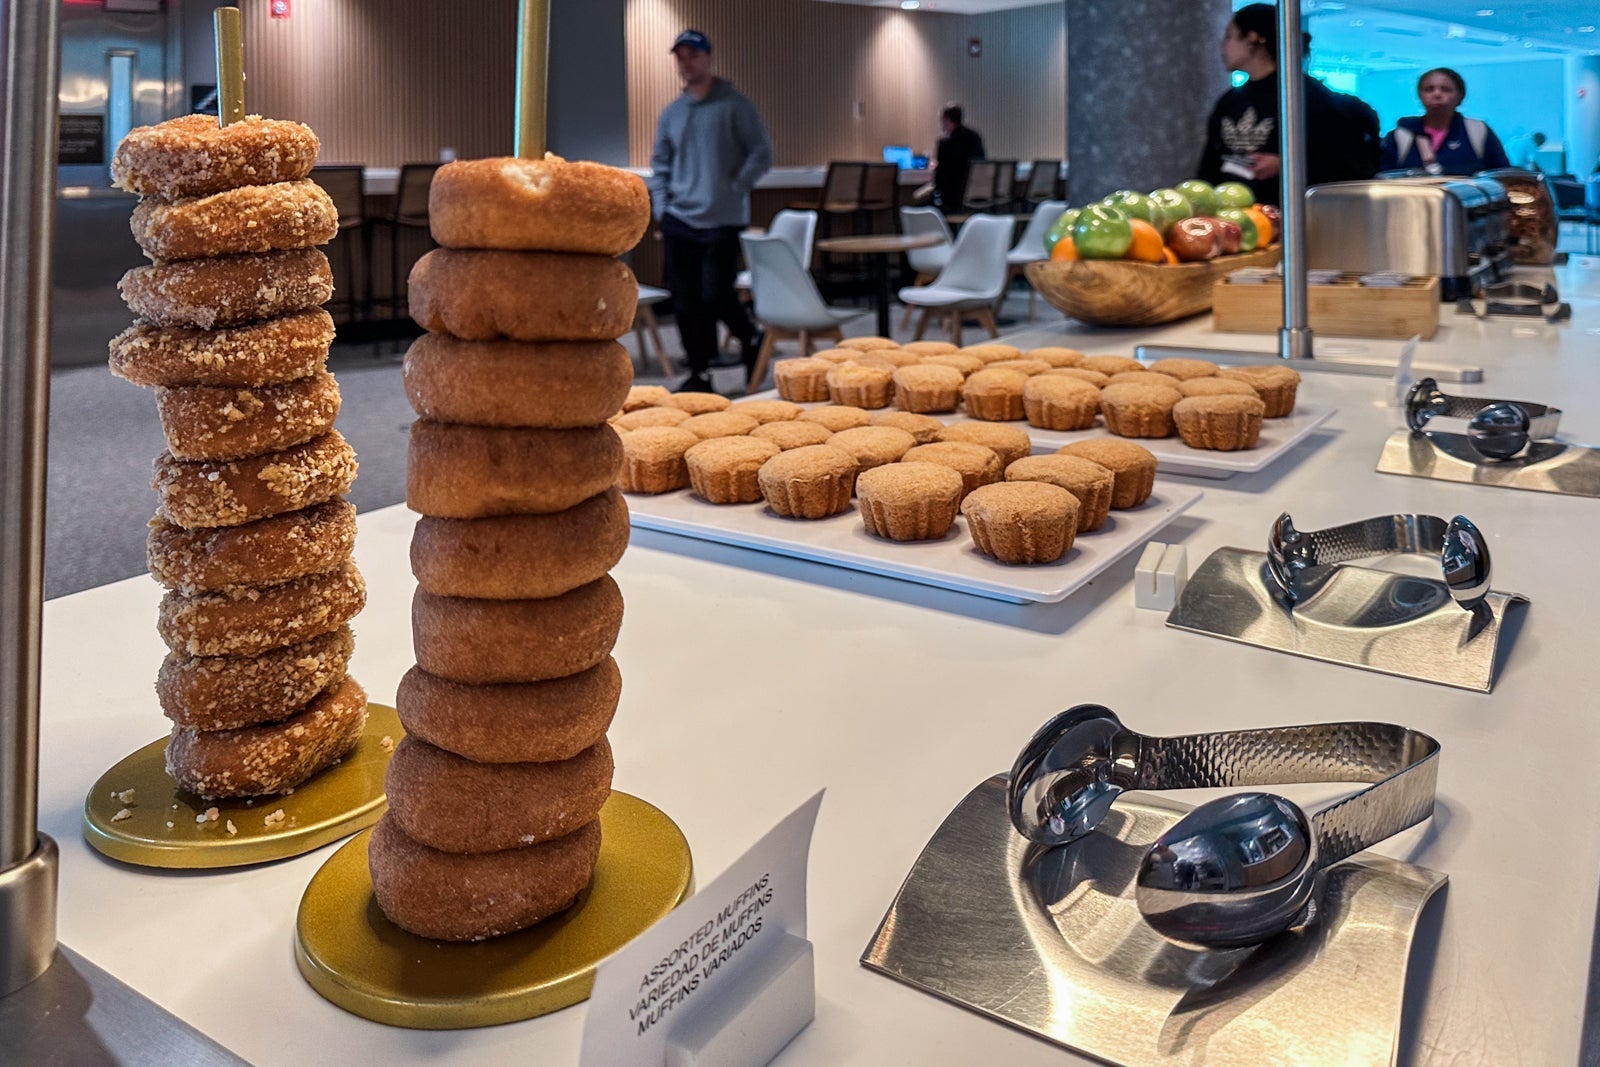
It’s important to note that you’ll only get two Avianca lounge visits per year, but any lounge access is a meaningful perk with a card that charges just $99 each year. How far this particular benefit stretches for you will depend on whether you have lounge access with another card and what lounges are in the airports you transit through most.
You’ll receive access to all Avianca VIP lounges with Silver status, though it’s important to note that the Miami International Airport (MIA) lounge location is included in the Priority Pass network. You can also redeem one of your entry passes for a companion (except for the Miami lounge).
Depending on how many lounges you can access in the airports you frequent, you may or may not find this card benefit useful.
You won’t receive your extra free checked bag on Basic and Light fares, which could be a big con for this card if you frequently book those fares. Your extra checked bag could cost well over a hundred dollars, depending on your origin and destination, so this benefit alone can net you back the money you spend on the card’s annual fee. But I wish this card followed the pattern of other airline cards by offering a free checked bag from the start, rather than tacking an additional bag onto the one included with your fare.
While this card’s perks are useful for those with no Avianca status, anyone with Avianca Gold or Diamond status won’t get much. Avianca Silver is the backbone of this card, and its perks are already included in Gold and Diamond status.
Related: San Francisco gets a new nonstop flight to Central America beginning June 1
How to earn and use your rewards
How to earn your rewards
The only way I see Avianca Gold or Diamond members getting meaningful value from the Avianca Lifemiles Amex is if they put significant spending on the card.
This card’s bonus categories are:
- 2 miles per dollar spent on Avianca and Lifemiles purchases, dining and groceries
- 1 mile per dollar spent on everything else
Airline cards are almost never a good place to put your everyday spending. If you put those expenses on a general travel rewards card instead, you’ll earn transferable points or miles that you can use with many different airlines and hotels. That will make it a lot easier to get maximum value from your rewards.
The Avianca Amex is no exception — I don’t recommend putting your everyday spending on this card.
That said, if you’re highly loyal to Avianca or you need to top off your Lifemiles balance for a specific redemption, this card earns moderately well on groceries and dining. It’s a decent option for Avianca purchases, unless you have a card that earns more on flights (such as the American Express Platinum Card®).
I’d like to see this card offer a higher earning rate for Avianca purchases since many airline cards with an annual fee offer at least 3 miles per dollar spent.
How to redeem Avianca Lifemiles
Avianca Lifemiles are powerful because they can be redeemed for flights on any Star Alliance airline, not just Avianca. As a cardholder, you’ll want to fly with Avianca at least a couple of times each year to properly take advantage of your Silver status.
Outside of that, though, you can find some great award redemptions on other Star Alliance airlines, such as United Airlines, Air Canada and Lufthansa. The Lifemiles program is a great way for points and miles beginners to practice partner award redemptions.
Katie Genter, TPG’s lead writer for points and miles, recently redeemed 8,280 Lifemiles plus $81 in taxes and fees for a one-way flight from Juan Santamaría International Airport (SJO) in Costa Rica to Mexico City International Airport (MEX). The cash price was $279, so she received 2.39 cents per mile in value.
If Katie had the Avianca Amex and taken advantage of its 5% redemption discount, she would’ve saved more than 400 miles and received 2.5 cents per mile in value.
Potential drawbacks to the Avianca Lifemiles Amex
If you’re someone who flies with Avianca all the time, you may not find the perks that Avianca Silver status provides to be enough. Depending on how often you fly, you may be able to achieve Gold or Diamond status, negating many of the benefits of this card.
I won’t dock too many points from the Avianca Lifemiles Amex for only offering two lounge visits per year since this isn’t a premium airline card. Still, it could be a drawback for someone who considers having lounge access a top priority.

Finally, this card doesn’t offer the strongest earning rates. It earns decently on Avianca purchases, but it’s outclassed by many general travel rewards cards that earn more rewards per dollar spent on flights.
Avianca Lifemiles Amex vs. Avianca Lifemiles Amex Elite
The Avianca Lifemiles Amex‘s older sibling is the Avianca Lifemiles American Express® Elite Card, a more premium option with a $249 annual fee (see rates and fees).
Both cards offer Avianca Silver status, but the Avianca Amex Elite offers additional perks beyond this, including:
- Up to 6,000 bonus miles annually, deposited as 500 miles per month
- 10% of your miles back on Star Alliance redemptions
- An up to 25% discount on Avianca redemptions
- 3 miles per dollar spent on Avianca purchases
- 2 miles per dollar spent on dining and travel, instead of dining and groceries

According to TPG’s April 2026 valuations, 6,000 Lifemiles are worth $84. That won’t put too much of a dent in the Avianca Amex Elite’s annual fee, and its other perks are hard to put a value on. Personally, I’d stick with the Avianca Lifemiles Amex.
Is the Avianca Lifemiles Amex worth it?
If you’re a big fan of Avianca or you fly frequently with Star Alliance airlines, I recommend seriously considering the Avianca Lifemiles Amex. It isn’t the strongest or most well-rounded card around, but it offers enough to the right cardholder. Just keep in mind that you’ll want to fly with Avianca a couple of times a year to properly take advantage of Avianca Silver status.
When to apply for the Avianca Lifemiles Amex
Currently, new Avianca Lifemiles Amex cardholders can earn 40,000 miles after spending $3,000 on purchases in the first 90 days from account opening.
According to TPG’s valuations, that welcome offer is worth $560.
Remember: Since this card isn’t issued by Amex, you won’t need to worry about Amex’s once-per-lifetime welcome bonus rule.
Other cards to consider if you don’t want the Avianca Lifemiles Amex
If the Avianca Lifemiles Amex doesn’t quite sound like the right fit for you, consider one of these options instead:
For additional options, browse our picks for the best travel cards.
Bottom line
For Avianca fans, the Avianca Lifemiles Amex is a solid option. It requires a moderate commitment to the airline, but you don’t need to fly with Avianca exclusively to get a lot of value.
If you already hold Avianca Gold or Diamond status, I’d consider a card that earns transferable rewards on flights or general travel instead. Otherwise, the Silver status that comes with this card can go a little way toward making your experiences with Avianca more enjoyable.
Apply here: Avianca LifeMiles American Express Card

Stacie Harris is a local resident and reporter of the Maple Grove area. Stacie reports on medicine and science for the Maple Grove Report.