5 Foods With More Fiber Than Chia Seeds


Fact checked by Nick Blackmer
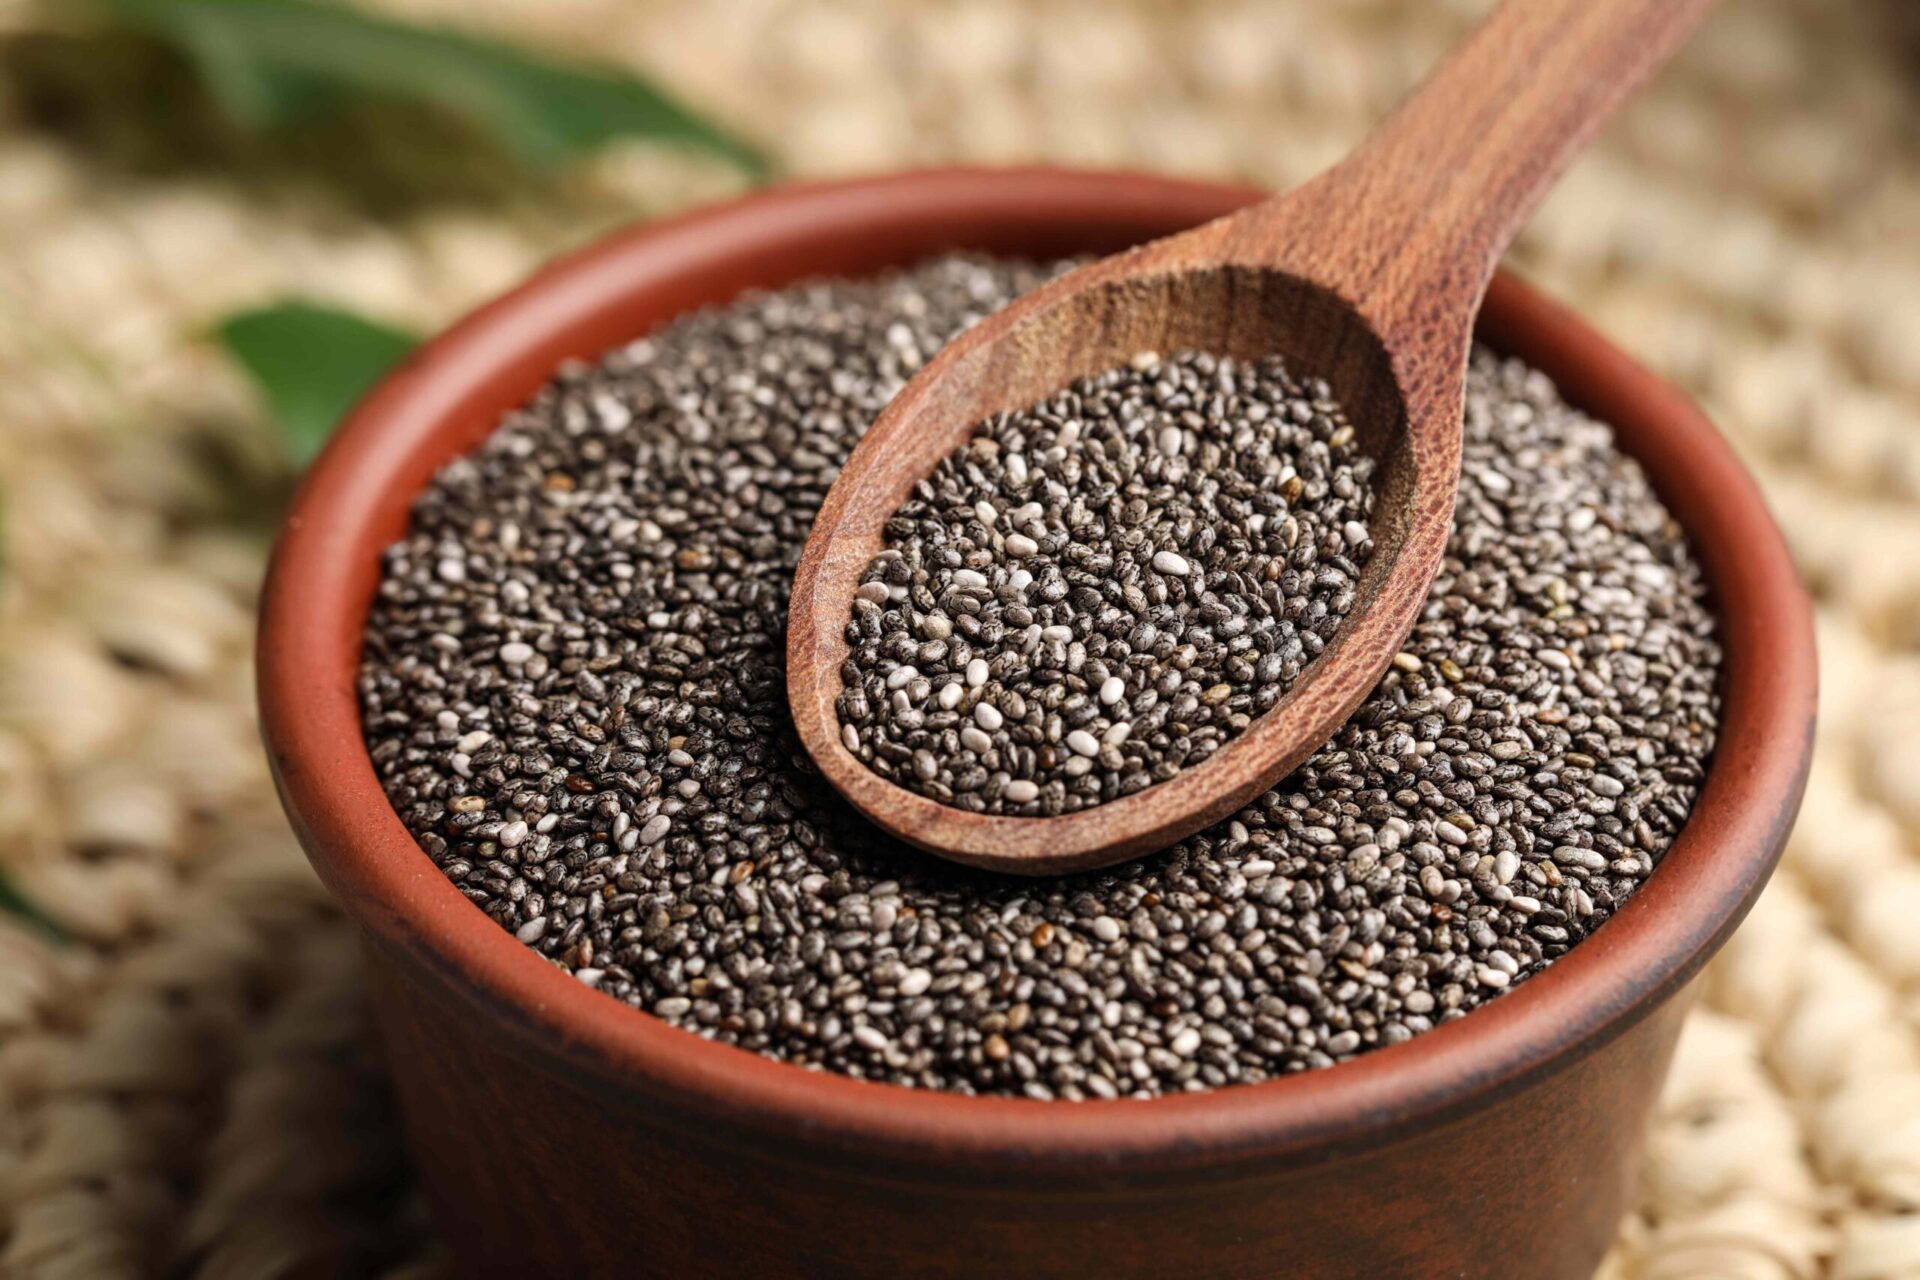
Chia seeds are considered a top source of fiber, but navy beans, lentils, and other foods have more per serving.Credit: Liudmila Chernetska / Getty Images
Chia seeds are considered a top source of fiber, but navy beans, lentils, and other foods have more per serving.
Credit: Liudmila Chernetska / Getty Images
  • Most American adults don’t consume as much fiber as they should.
  • Chia seeds are a great source of fiber, providing nearly 10 grams per ounce.
  • However, you can get more fiber from certain kinds of beans, chickpeas, and more.

Chia seeds pack a solid dose of fiber, with 1 ounce containing 9.8 grams—35% of the recommended Daily Value (DV). But here are five foods that offer even more fiber per serving. 

1. Navy Beans

Credit: Aekprachaya Ayuyuen / Getty Images
  • Fiber content: 19.1 grams per cooked cup (68.2% of the DV)

In addition to fiber, navy beans are also high in protein, providing 15 grams per cup, making them an excellent protein source for those following plant-based diets. Navy beans also provide folate, iron, selenium, and magnesium, a mineral that’s needed for healthy blood sugar and blood pressure regulation.

How to use them: Toss navy beans into soups and stews, or cook them with herbs and seasonings for a flavorful side dish.

2. Lentils

Credit: F.J. Jimenez / Getty Images
  • Fiber content: 15.6 grams per cooked cup (55.7% of the DV)

Lentils are packed with protein, providing just under 18 grams per cup. Protein and fiber help you feel full after eating, making lentils a good choice for weight loss. A cup of lentils covers 90% of your daily needs for folate, a B vitamin that’s needed for red blood cell production and brain function. Folate plays an important role in fetal development, which is why folate-rich foods are especially critical during pregnancy.

How to use them: Add lentils to salads, curries, and soups for an easy way to increase the protein, fiber, vitamin, and mineral content of your favorite meals.

3. Black Beans

Credit: Westend61 / Getty Images
  • Fiber content: 15 grams per cooked cup (53.6% of the DV)

Health benefits: Beyond fiber, black beans are packed with vitamins and minerals, like magnesium and potassium, which regulate blood pressure levels. Studies show that eating more foods high in potassium and magnesium can help reduce high blood pressure (hypertension) and protect against heart disease.

How to use them: Add black beans to dishes like tacos, burritos, and grain bowls, or use them to make homemade black bean burgers.

4. Avocados

Credit: puhimec / Getty Images
  • Fiber content: 13.5 grams per 201-gram avocado (48.2% of the DV)

Avocados are a great source of healthy fats, magnesium, folate, and vitamins E and C. Avocados also provide antioxidants, such as polyphenols, proanthocyanidins, and carotenoids, which reduce inflammation and protect against cellular damage.

How to use them: Add sliced avocados to salads, grain bowls, and even smoothies, or use ripe avocados to make a homemade guacamole. 

5. Chickpeas

Credit: SimpleImages / Getty Images
  • Fiber content: 12.5 grams per cooked cup (44.6% of the DV)

Chickpeas are a rich source of nutrients like protein, folate, potassium, magnesium, and zinc, all of which play important roles in health. A cup of chickpeas covers 23% of your daily needs for zinc, a mineral that’s necessary for immune function, cell division, and protein and DNA synthesis.

How to use it: Blend chickpeas, olive oil, tahini, salt, and lemon juice to make a creamy, homemade hummus, or use chickpeas to boost the nutritional value of salads, soups, and grain bowls.

What To Know About Increasing Fiber Intake

Most Americans don't get enough fiber. If you're looking to boost your fiber levels, here are some helpful tips to consider:

  • Increase fiber gradually: A sudden increase in fiber can cause stomach upset, like bloating and gas. If your diet is currently low in fiber, it’s suggested to slowly increase your fiber intake over time to reduce the risk of side effects.
  • Pair with water: When you increase your fiber intake, it’s important to also increase your water consumption. Fiber absorbs water in the digestive tract, and inadequate water intake may lead to constipation.
  • Diversify your fiber sources: There are two types of fiber: soluble and insoluble. Soluble fiber dissolves in water and draws water into stool, making it easier to pass. Insoluble fiber, on the other hand, isn’t broken down by gut bacteria and instead adds bulk to stool, promoting regular bowel movements. In order to ensure you’re getting plenty of both, include a variety of fiber sources in your diet, like chia seeds, beans, nuts, fruits, and vegetables.


Source link

Leave a Reply

Subscribe to Our Newsletter

Get our latest articles delivered straight to your inbox. No spam, we promise.

Recent Reviews


Installation of Jira Application:

1. Download the Jira zip file to your OS:

  • Refer to https://www.atlassian.com/software/jira/core/download for Jira Core.
  • Refer to https://www.atlassian.com/software/jira/download for Jira Software.
  • Refer to https://www.atlassian.com/software/jira/download for Jira Service Management. 

Become a master of Jira by going through this HKR Jira Training!

2. Create a folder named installation directory. This is the place where the Installation of Jira will be done. Do not use spaces or special characters in the path. Extract the Jira Zip file in your installation directory.

3. Create a folder named the home directory. This is the place where Jira data such as search indexes, logs, and files are stored. You should create this folder separately from your installation directory.

Let Jira know where to find the home directory when it starts. There are two ways to do it. 

  • Setting up an environment variable (generally Preferred)
  • Edit the jira-application.properties file

Setting up an environment variable:

  • You need to set an environment variable called “Jira_Home” in the OS with an exact path to the home directory.   
  • set JIRA_HOME=A:\path\to\jira-home
  • where A is the drive on which you have created the home directory.
  • You may later specify the above command in a script that is used to start Jira.

Edit the jira-application.properties file:

  • In any text editor, edit the file installation_directory\atlassian-jira\WEB-INF\classes\jira_application.properties. 
  • Next, add jira.home exact path to your home directory. You should avoid backlashes.
  • If you set a UNC path, you will have to double escape the primary backslash.

If you want to Explore more about Jira? then read our updated article – Jira Tutorial

Jira Administration Training

  • Master Your Craft
  • Lifetime LMS & Faculty Access
  • 24/7 online expert support
  • Real-world & Project Based Learning

4. By default, Jira checks port 8080.  If another application uses the same ports, you must tell Jira to use another port.

5. Then you can start Jira.  

  • Start the installation process by running installation_directory/bin/start-jira.bat. A command prompt opens. Closing it will stop Jira.
  • To run Jira in your browser, go to http://localhost:8080/.
  • If the command prompt window immediately closes, then your Java_home variable may be incorrectly set.

[ Related Article : jira training ]

Setting up Jira Application:

1. Select the setup method. Select ‘I will set it up myself’.

2. Connect with your database: 

  • If you haven’t done that yet, now is the time for you to set up a database.
  • Select My own database.
  • Select your database type and enter your database details.

3. Define Application properties:

  • Enter the name of your Jira site
  • Choose if your website needs to be private or everyone can register. You’ll be able to change that later.
  • Enter your basic URL through which people will be able to access your Jira website.

JIRA will connect to your database by means of a standard connection to the JDBC database. Connection sharing is managed in JIRA and can be modified later using the JIRA configuration tool.

When using Oracle or MySQL, there is an additional step:

  • Download and extract suitable database JDBC drivers.
  • Put the JAR file in your jira_installation/lib folder before proceeding with the setup wizard.

4. Enter the License:

  • Follow the instructions to sign in to my.atlassian.com to recover your license or enter the license key.

5. Sign up for your admin account:

  • Enter your administrator account details. Additional administrators can be added at the end of the setup.

6. Configure email notifications:

  • Enter the email server details. It enables Jira to send notifications when problems change.

7. Get started with Jira: 

That’s all! Your Jira website can be accessed from your basic URL or a URL such as http://computer_name(or)IP_address:port

Now, let us go through some of the prerequisites before we install Jira.

frequently asked Jira Interview Questions and Answers !!

HKR Trainings Logo

Subscribe to our YouTube channel to get new updates..!

Jira installation Prerequisites:

1. See the Supported Platforms page to learn which version of Jira you are installing. It will provide you information about the supported operating systems, browsers and databases. 

Note: 

  • The installation of Jira on OSX is not supported.
  • We can use JDK (Java Development Kit) or JRE (Java Runtime Environment).
  • Only the version of Apache Tomcat provided with Jira is supported.

2. If you install Jira on a 32-bit system, you must reduce the maximum amount of heap available for Jira. 2GB is the default size 64bit system which is very high for a system with 32 bit and may be unsuitable for available memory.

Follow these steps once you have extracted files from the archive, but even before you start Jira.

  • The Default setenv file must be renamed. 

Go to the Jira-install-directory/bin directory and remove the setenv.bat/.sh file (edit its name). 

Label setenv32.bat/. sh as setenv.bat/.sh. Jira will use that file during startup.

  • You need to add properties for the jira-config.properties file.

Go to the home directory of Jira, and change the jira-config.properties file. In case there is no file, you may create it.

Add the properties below:

jira.index.batch.maxrambuffermb=256

jira.index.interactive.maxrambuffermb=256

3. Executing Jira as a service on Windows indicates that your Jira application will start automatically once Windows is started. You need to use the Windows installer if you wish to execute Jira as a Service.
In the event that you decide not to use Jira as a service: You need to start and stop Jira by executing the file start-jira.bat in your Jira installation folder. 

Jira will be executed as the Windows user account which is used to install Jira, or you may choose to operate it as a dedicated user. (This user requires complete read and write access for the installation folder and the base folder). Jira requires a manual restart when your server is restarted.

4. In order to start Jira in production, you must have an external database. Refer to the Supported Platforms page for the version you are installing for a list of currently supported databases. If you do not have a database, then PostgreSQL is the best choice. It is free, easy to configure, and has gone through many tests with Jira.

  • Configure your database before you start. Stepwise guidance for all supported databases can be found in Connecting Jira Apps to a Database.
  • UTF-8 character encoding can be used.
  • If you use either Oracle or MySQL, you will be required to download your database driver.
  • The integrated H2 database can be used to evaluate Jira, but you need to migrate to a different database before executing it in production. An external database can be easier to use right from the beginning.

5. You require a valid Jira software server, Jira service desk server or Jira Core server license to operate JIRA.

  • If you have not purchased a Jira Application License, then you can create an evaluation License during configuration.
  • If you are having a license key, you will be asked to log into my.atlassian.com to get it back, or you may manually enter the key while configuring.
  • If you are moving from Jira Cloud, then you will require a new Jira license.

6. Before installing Jira, make sure that you are using a supported Java version and that the JAVA_HOME environment variable is set properly.

Jira applications will work with Oracle JDK, OpenJDK, or JRE. To verify the JAVA_HOME variable:

  • Open the command prompt and enter “echo %JAVA_HOME%” and press Enter. 
  • If you are able to see the path to your Java install directory, then the JAVA_Home environment variable has been properly set. 
  • If nothing is shown, or  %JAVA_HOME% is shown, you need to manually define the JAVA_HOME environment variable.

Become a master of Windows Networking by going through this HKR Windows Networking Training !

Jira Administration Training

Weekday / Weekend Batches

Conclusion:

In this post, we have gone through the installation of the Jira application on windows, Setting up the Jira application and the prerequisites before installing Jira. I hope this post was helpful!

Other Article:

Bitbucket Training

Jira Sample Resumes


Source link