Fact checked by Nick Blackmer
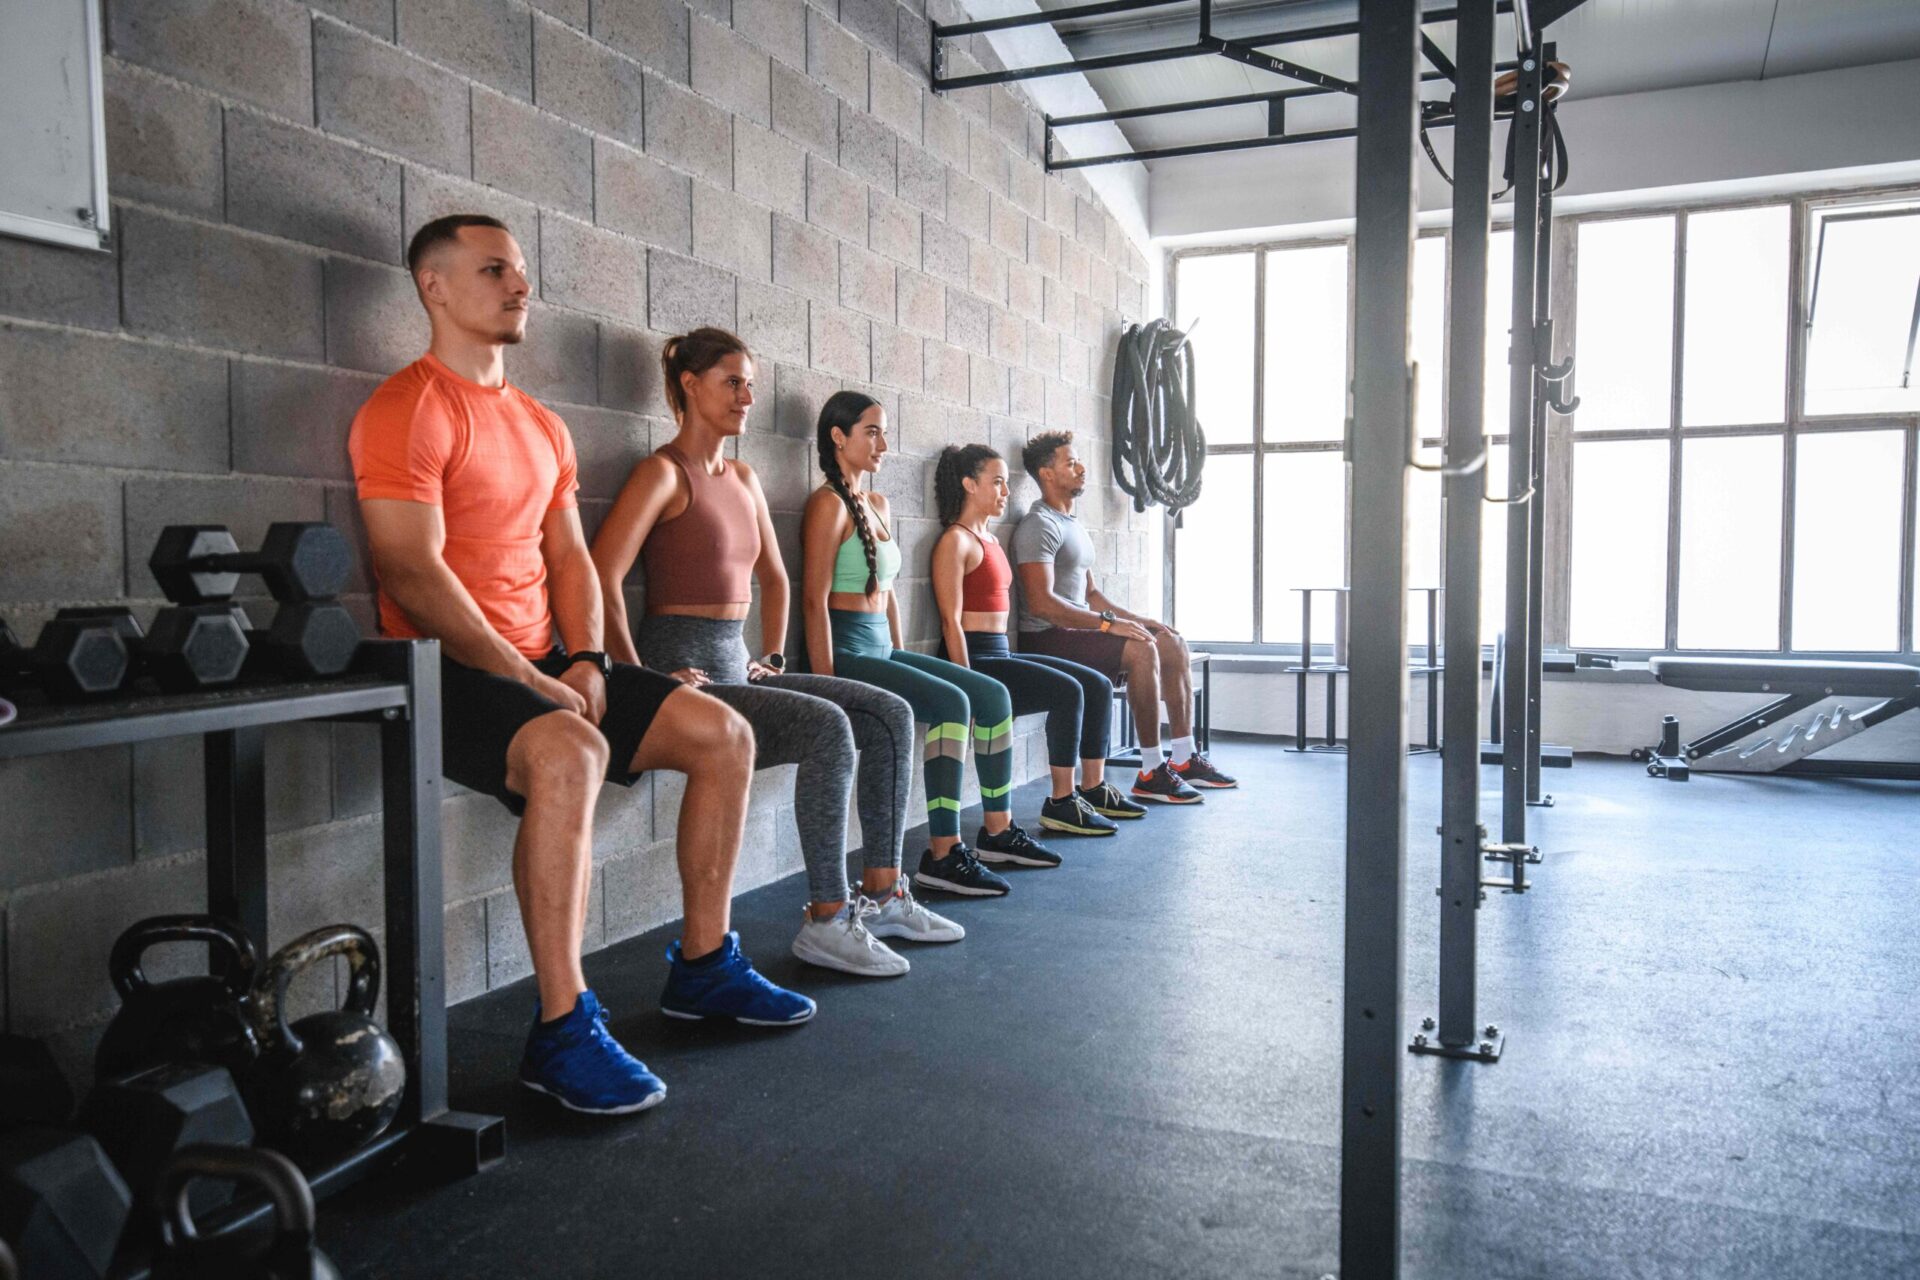
:max_bytes(150000):strip_icc():format(jpeg)/GettyImages-1282804475-08e73de9abf24be483eebc0b866e4d40.jpg "People sitting against a gym wall performing wall sit exercises")
Credit: AzmanL / Getty Images
- Most people can hold a wall sit for 30–60 seconds, while trained athletes may sustain the position for several minutes.
- Wall sits build lower-body endurance, stability, and isometric strength through sustained muscle contraction without movement.
- Improving wall sit performance comes from consistent practice, proper form, and strengthening the quads, glutes, and core.
In the world of lower-body exercises, the wall sit often falls by the wayside, overlooked for other staples like deadlifts and squats. One reason may be that it looks too easy. If you really want to work your muscles, simply holding a squat position and staying still isn’t going to do much, right?
Not exactly. The wall sit is actually much harder than it looks—and it can be a great, equipment-free way to test your lower-body fitness. Here’s what you need to know.
What a Wall Sit Measures
A wall sit is an isometric exercise, meaning there’s no movement involved. Your muscles are under constant contraction—known as the concentric phase—which keeps you steady so you can hold your position.
This makes it different from other common exercises, which have both concentric and eccentric phases that produce the movement. Take a regular squat, for example: As you lower down, your muscles lengthen in the eccentric phase; then, they shorten in the concentric phase to push you back up.
That constant contraction is what makes the wall sit deceptively difficult, Evan Williams, CSCS, strength and conditioning coach for the Milwaukee Bucks, told Health. “Because it’s an isometric exercise, the muscles have little chance to relax, which leads to faster fatigue,” he said. “On top of that, the quads have to produce a significant amount of force just to maintain the position against gravity.”
The combo of that continuous time under tension, plus the partial restriction in blood flow that can happen during sustained holds, “creates the intense burn people feel,” said Williams.
But the wall sit isn’t just about muscle fatigue. It’s also an important measure of various fitness factors. “A wall sit measures isometric strength, muscular endurance, and lower-body stability,” said Williams.
This has important carryover outside of the gym, too. “In everyday life, things like carrying objects, climbing stairs, or even standing for long periods all require a certain level of lower-body endurance and stability,” said Williams. So by boosting your performance in the wall sit, you may be able to perform daily activities more easily.
How Long Should You Be Able to Hold a Wall Sit?
There’s not a ton of standardized data on how long you should be able to hold a wall sit. One 2025 study had 739 adults complete a 12-week strength and aerobic fitness program, and measured their wall sit performance both before and after as one of their data points. On average, people held the wall sit for 47 seconds before starting the fitness program; they increased their hold duration to 65 seconds after the 12 weeks.
“This lines up well with someone moving from a beginner level into more of an intermediate range,” said Williams.
Additionally, the following ranges can be a useful benchmark based on Williams’s experience training individuals:
- Beginner: 30–45 seconds
- Average: 45–60 seconds
- Above average: 60–90 seconds
- Advanced: 90 seconds–2 minutes
- Athlete/high fitness: 2–4+ minutes
Still, there are lots of factors that can go into how long you can hold a wall sit, so performance should be viewed as just one piece of the puzzle rather than a strict standard, said Williams. Factors that can influence wall sit performance include bodyweight, training background, age, and sex, as well as small differences in positioning.
How To Do a Proper Wall Sit
Wall sits provide a glimpse into your muscular endurance, isometric strength, and lower-body stability. “More specifically, it shows how well someone can maintain proper body positioning under load over time,” Williams said.
Here are the steps to doing a proper wall sit:
- Stand with your back against a wall. Walk your feet out, roughly 1–2 feet away from the wall, keeping them shoulder-width apart.
- Slide down the wall slowly, bending your knees, and stopping when your thighs are about parallel to the floor. Your knees should be stacked over your ankles, not pushed past your toes.
- Hold your position, keeping your back flat against the wall, core engaged, and weight evenly distributed through both feet. Don't forget to breathe.
- Stand back up by pushing through your heels and sliding up the wall.
Wall sits seem simple, but there are a number of form mistakes Williams commonly sees with his clients. The first has to do with positioning: Your thighs should be parallel to the floor with knees bent at 90 degrees. “People are usually either too high, which makes it easier, or too low, which can add unnecessary stress,” he said.
Many people also lose contact with the wall during the duration of the exercise, but your head, shoulders, and hips should stay against it the entire time. Your chest should stay up, ribs down, and core engaged to help maintain a strong position as well.
Knees collapsing inward is another big mistake. “As fatigue sets in, you’ll also often see the knees start to cave inward, which usually means the quads are getting tired and the glutes aren’t stabilizing well enough,” said Williams.
Finally, many people forget to breathe. “A lot of people tend to hold their breath, which actually makes the exercise harder and increases fatigue,” said Williams. “It’s better to focus on slow, controlled breathing—inhale through the nose for about three to four seconds and exhale through the mouth for four to six seconds. This helps keep oxygen flowing, keeps heart rate more controlled, and allows the muscles to work longer.”
Tips to Improve Your Wall Sit Time
If you want to get better at wall sits, you should include them regularly in your workout routine. A good rule of thumb is two to three times per week, at two to three sets each time. If you're a beginner, see how long you can comfortably hold a wall sit the first time, and then continually try to match or beat that time.
Wall sits “can be used either as part of a warm-up to activate the lower body or at the end of a workout to build muscular endurance,” said Williams. You can also add a challenge to the wall sit with a few progressions: Try a kickstand or single-leg variation, or add load by holding a dumbbell or a weight plate while you do the traditional version.
But a huge part of getting better at wall sits is strengthening the muscles involved in them—mainly, your quads and glutes. “Squat and split squat variations help build quad strength, hip thrusts and band work improve glute and hip stability, and core exercises like planks and dead bugs help maintain positioning under fatigue,” Williams said. “At the end of the day, getting better at wall sits comes down to improving strength, endurance, and the ability to maintain good form as fatigue sets in.”